9:31:00 PM
Green Leaf Content Box
design
Step 1

Make a new layer (Layer->New Layer). Now, with your new Layer selected and with your Rectangular Marquee Tool (M) draw a rectangular in the upper part of the white rectangular. Be careful to respect the sizes. Once you have the selection take your Gradient Tool and set like this.

Use #000000 for the dark part and #4f5052 for the light part. Now fill the selection with this gradient color. Should look like this.

Step 3
It’s time for a new Layer (Layer->New Layer). Now, again with your new layer selected and with your Rectangular Marquee Tool (M) draw a rectangular in the upper part of the black rectangular. Fill it with and set the opacity to 29%. This you will add a glassy effect to the box.


Step 4
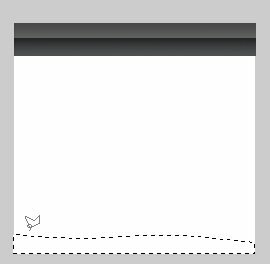
First make a new layer. Then select your Polygonal Lasso Tool (L) and draw a shape just like, at least try to make one that looks like this at the bottom of the box.

Now fill it up with green (#86c55d). Make a new layer and select the upper part of the new green shape, so that we can add a glassy effect. Fill up with white the new selection and set the opacity to 29%.

Step 5
Select the second layer (the one with the white rectangular) and go to Layer->Layer Style->Stroke.

It’s tome for some shadows. Go to Layer->Layer Style-> Drop Shadow

Step 6
Make a new layer, and the last, and with your Rectangular Marquee Tool (M) draw a rectangular in the white space of the box, to define the writing area. Go to Layer->Layer Style->Bevel and Emboss and set it like this.

Add some text and the box is finished.

0 Responses to "Green Leaf Content Box"


Post a Comment