2:18:00 PM

(0) Comments

Digital Display

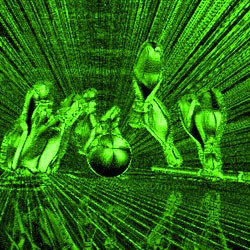
Turn an image into a high-tech digital art. From a distance, it will look like a LED display image but viewing up close will reveal the tiny details. Note: Make sure that the image is in RGB color mode. To switch to RGB color mode, click on RGB Color under the Image> Mode menu.


Prepare the Image

Step 1

Open an image you would like to edit. Or, you may use the image used in this tutorial (from iStockPhoto). Using a low-resolution image is fine.

Bowling Pin Photo

Step 2

If you're using a low resolution image, use the Image Size tool to increase the dimensions. We recommend at least 2000 pixels wide and tall for better clarity in the final result.

Tip: Ensure that the "Resample Image" checkbox is checked to allow scaling the actual pixel dimensions.
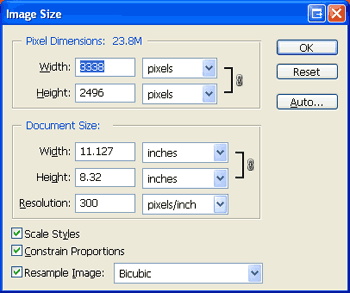
Photoshop Image Size Tool


Convert Image into a Grid of Circles

Step 3

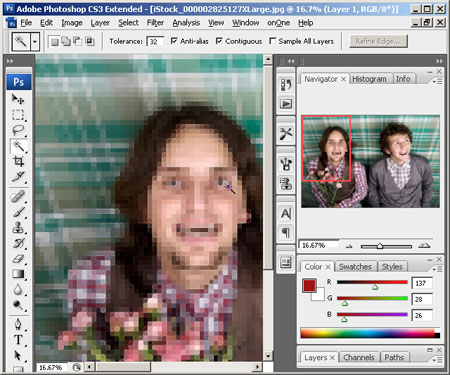
Add a Mosaic filter (Filter> Pixelate> Mosaic) with a cell size of 8 square.
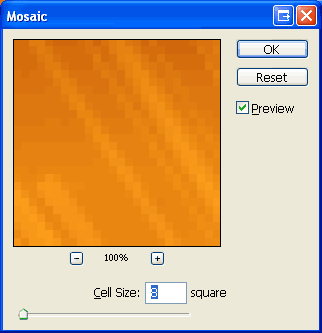
Photoshop Mosaic Filter

Step 4

Apply a Find Edges filter (Filter> Stylize> Find Edges)
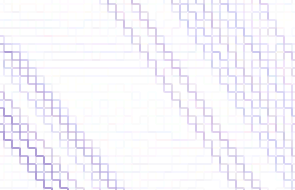
Find Edges Filter Applied

Step 5

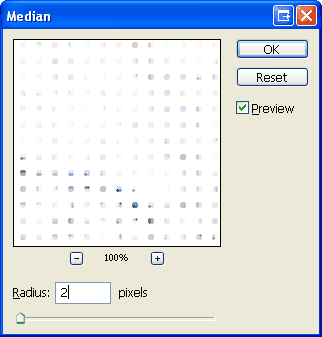
To warp the edges into circles, we'll use the Median filter. Apply a Median filter (Filter> Noise> Median) with radius of 2 pixels.
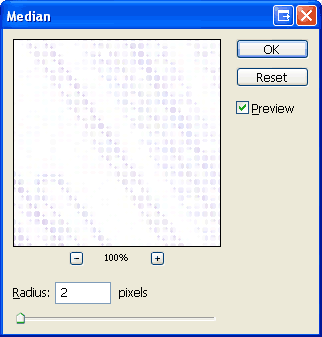
Photoshop Median Filter Tool

Step 6

Select the Magic Wand tool (W) and apply these settings:
Tolerance: 8
Anti-Alias: Checked
Contiguous: Checked
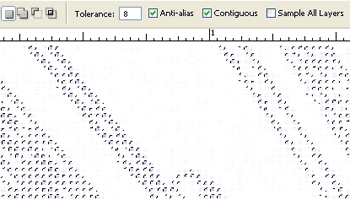
Magic Wand Settings

Step 7

Use the Magic Wand tool to click on a white area. Inverse the selection (Select> Inverse or Shift+Ctrl+I)

Step 8

Apply another Median filter (Filter> Noise> Median) but with a Radius of 3 pixels.
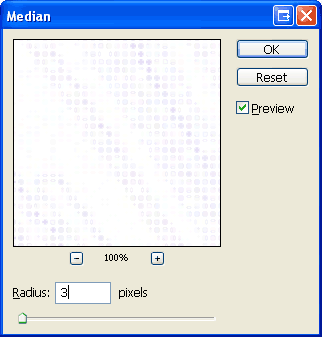
Photoshop Median Filter

Step 9

Deselect (Select> Deselect or Ctrl+D) and apply an Auto Levels (Image> Adjustments> Auto Levels or Shift+Ctrl+L)

Auto Levels Applied

Step 10

Invert the current layer (Image> Adjustments> Invert or Ctrl+I)
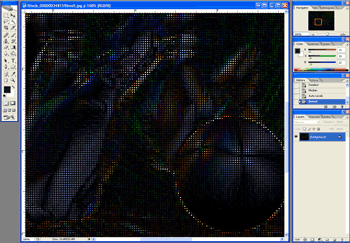
Inverted Image

Step 11

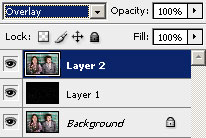
Duplicate the current layer (Layer> Duplicate Layer or Ctrl+J), change the blending mode of the new layer to Overlay, then Merge the layers (Layer> Merge Layers or Ctrl+E).

Create Outlines

Step 12

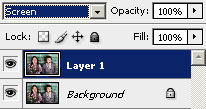
Duplicate the background current layer (Layer> Duplicate Layer) and change the blending mode of the new layer to Screen.
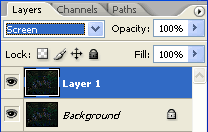
Duplicated Layer

Step 13

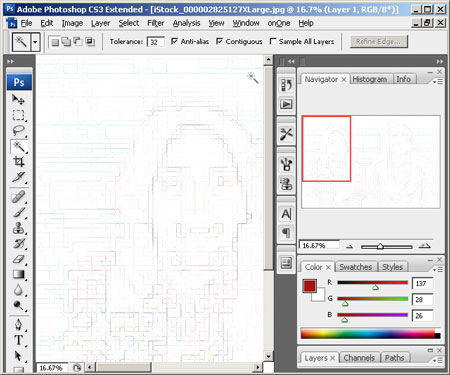
Apply a Find Edges filter (Filter> Stylize> Find Edges).
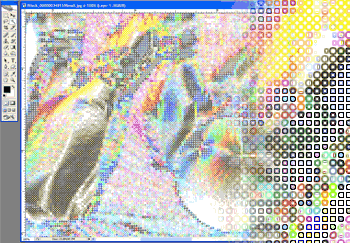
Photoshop Find Edges Filter Applied

Step 14

Invert the current layer (Image> Adjustments> Invert or Ctrl+I).
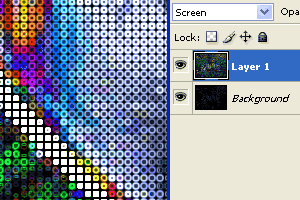
Inverted Layer

Colorize

Step 15

Add a new Hue/Saturation adjustment layer (Layer> New Adjustment Layer> Hue/Saturation). For this step, I will use these settings:
Colorize: Checked
Hue: 100
Saturation: 100

Tip: This step is optional and may be skipped if you do not want to colorize the image.
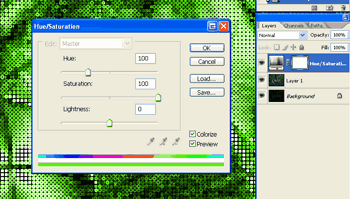
Photoshop Hue/Saturation Adjustment Layer


Final Results

Multicolor version

Rollover the image below to see the before and after effect.
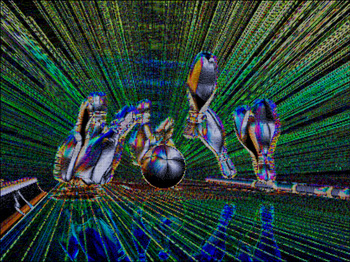
Final Results

100% crop

Final Results 100%

Colorized Version

Rollover the image below to see the before and after effect.
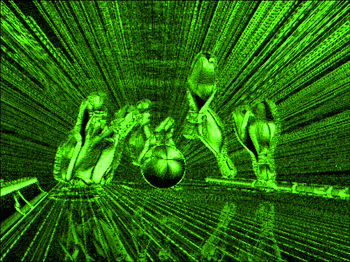
final-results-2-full

Image when printed

Printed Final Results

use the Median filter. Apply a Median filter (Filter> Noise> Median) with radius of 2 pixels.
{mosimage}
  • Select the Magic Wand tool (W) and apply these settings:
    Tolerance: 8
    Anti-Alias: Checked
    Contiguous: Checked
    {mosimage}
  • Use the Magic Wand tool to click on a white area. Inverse the selection (Select> Inverse or Shift+Ctrl+I)
  • Apply another Median filter (Filter> Noise> Median) but with a Radius of 3 pixels.
    {mosimage}
  • Deselect (Select> Deselect or Ctrl+D) and apply an Auto Levels (Image> Adjustments> Auto Levels or Shift+Ctrl+L)
    {mosimage}
  • Invert the current layer (Image> Adjustments> Invert or Ctrl+I) {mosimage}
  • Duplicate the current layer (Layer> Duplicate Layer or Ctrl+J), change the blending mode of the new layer to Overlay, then Merge the layers (Layer> Merge Layers or Ctrl+E).
  • Create Outlines

    1. Duplicate the background current layer (Layer> Duplicate Layer) and change the blending mode of the new layer to Screen.
      {mosimage}
    2. Apply a Find Edges filter (Filter> Stylize> Find Edges).
      {mosimage}
    3. Invert the current layer (Image> Adjustments> Invert or Ctrl+I).
      {mosimage}

    Colorize

    1. Add a new Hue/Saturation adjustment layer (Layer> New Adjustment Layer> Hue/Saturation). For this step, I will use these settings:
      Colorize: Checked
      Hue: 100
      Saturation: 100
      {mostip image=tipon}This step is optional and may be skipped if you do not want to colorize the image. {/mostip} {mosimage}
    {mospagebreak title=Final Results}

    Final Results

    Final Results
    Final results
    (Rollover the image with your cursor to see the image before the Digital Photoshop effect was applied. )
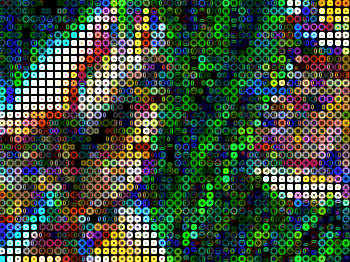
    Final Results 100%
    Final results closeup

    final-results-2-full
    Colorized final results
    (Rollover the Image with your cursor to zoom in. Click to view full image)
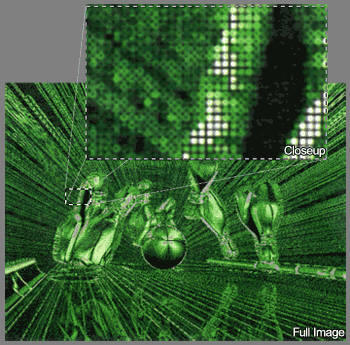
    Printed Final Results
    Final results when printed


    ReadMore...

    1:46:00 PM

    (1) Comments

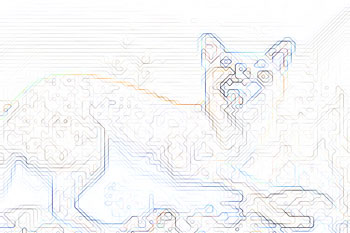
    Circuit Board

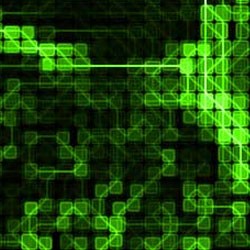
    Transform a regular photo into a high-tech artwork made up of blocks and connectors resembling a circuit board.


    Creating the Blocks

    First, we'll create convert the image to blocks using a combination of Photoshop filters.

    Step 1

    Open a photo you would like to edit. We recommend using a high resolution image of at least 1000x1000 pixels. It is also fine to upscale a low resolution image before using this effect.
    This photo will be used to create the Circuit Board Photoshop effect.

    Step 2

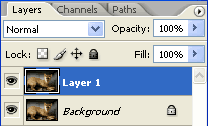
    Duplicate the layer (Layer> Duplicate Layer or Ctrl+J).
    Duplicated Layer

    Step 3

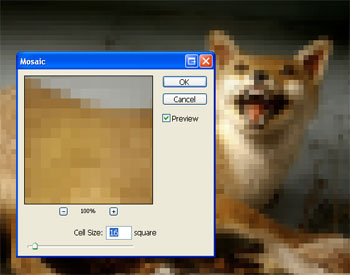
    Activate the top layer and apply a Mosaic filter (Filter> Pixelate> Mosaic) with a cell size of 16 square.
    undefined

    Step 4

    Apply a Find Edges filter (Filter> Stylize> Find Edges).
    Find Edges filter applied.

    Step 5

    Apply a Median filter (Filter> Noise> Median) with a radius of 2 pixels.
    The Median Filter

    Step 6

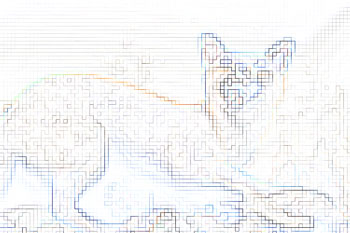
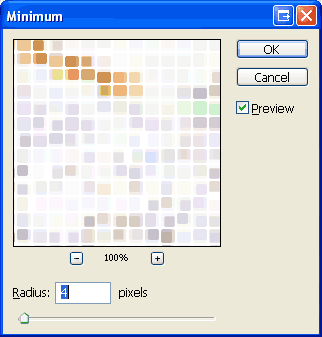
    Apply a Minimum filter (Filter> Other> Minimum) with a radius by 4 pixels.
    The Minimum Filter

    Step 7

    Finally, invert the current layer (Image> Adjustments> Invert or Ctrl+I).
    Inverted Layer

    Adding an Outline to the Blocks

    Now that we have the blocks created, we'll add a simple outline around them.

    Step 8

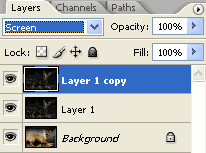
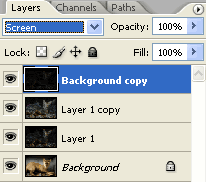
    Duplicate the top layer (Layer> Duplicate Layer or Ctrl+J) and change the blending mode of the new layer to Screen.
    Layer duplicated and blending mode set to Screen.

    Step 9

    Apply a Find Edges filter (Filter> Stylize> Find Edges).
    Find Edges filter applied.

    Step 10

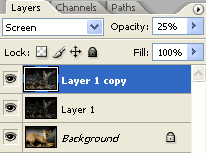
    Invert the current layer (Image> Adjustments> Invert or Ctrl+I) and the outline should blend into the image. One last thing to do is to reduce the opacity

    Creating the Connectors

    We're almost done with the effect. All we need to do now is add the connectors. This is a simple process using a few Photoshop filters.

    Step 11

    Duplicate the Background layer (Layer> Duplicate Layer or Ctrl+J) and move it to the top.
    Layer inverted and opacity set to 25%.

    Step 12

    Apply a Mosaic filter (Filter> Pixelate> Mosaic) with a cell size of 16 square.
    Layer duplicated and moved to top.

    Step 13

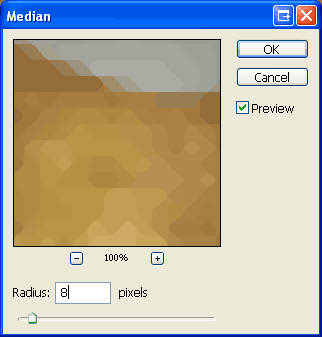
    Activate the new top layer and apply a Median filter with a radius of 8 pixels.
    The Median Filter

    Step 14

    As you might have guessed, we'll now apply a Find Edges filter (Filter> Stylize> Find Edges).
    Find Edges filter applied.

    Step 15

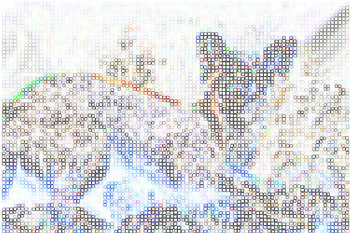
    Finally, invert the current layer (Image> Adjustments> Invert or Ctrl+I) and change the blending mode to Screen.
    Layer inverted and blending mode changed to Screen.

    Colorizing the Final Results

    This step is optional. If you would like to colorize the final results, follow this step:

    Step 16

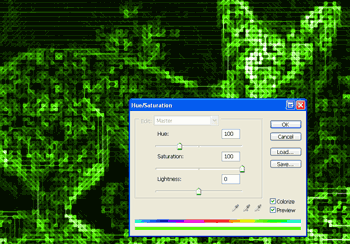
    Add a new Hue/Saturation adjustment layer (Layer> New Adjustment Layer> Hue/Saturation) as the top layer. Checkmark Colorize and apply your desired color settings. Here are the settings I've used for this step:
    Colorize: Checked
    Hue: 100
    Saturation: 100
    Lightness: 0
    The Hue/Saturation Tool

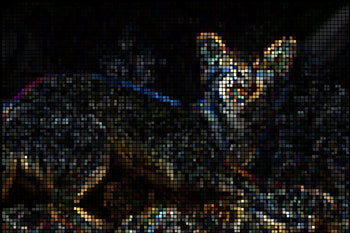
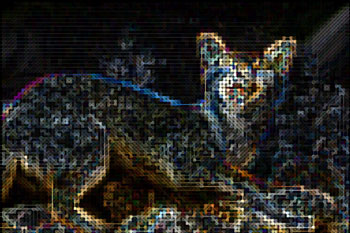
    Final Results

    Rollover the images below to see the before and after effect.

    Circuit Board final-results-full Circuit Board


    ReadMore...

    1:38:00 PM

    (0) Comments

    Disco Tiles

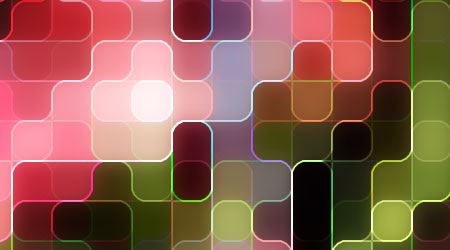
    Tired of old boring prints? Try out this fun photo effect on your photos that you can print out to impress your friends. From a distance, it will look like a normal photo but view the printed image up close and you'll see an abstract mosaic pattern that resembles a disco floor. This Photoshop effect is also great for enlarging low resolution photos into poster-size prints.
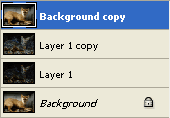


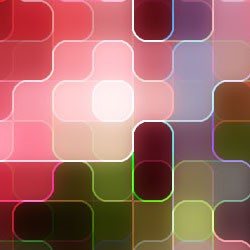
    Preview of Final Results

    undefined
    Disco Tiles Photoshop Tutorial

    Step 1

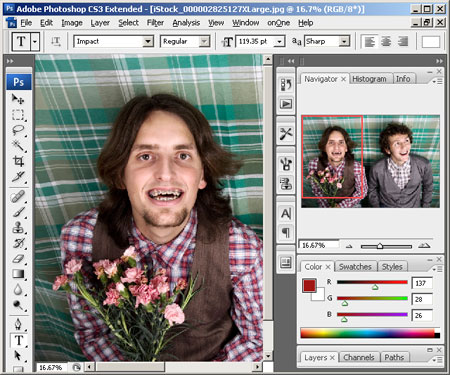
    Run Photoshop and open the photo you would like to add this effect to into Photoshop.
    undefined

    Step 2

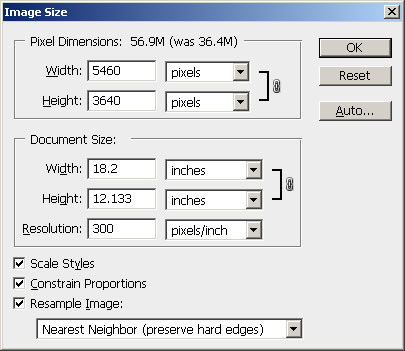
    Next, we need to resize the image to the final output size that we would like to print at. Enter the width and height for the document size and specify the resolution. You can set the resampling method to Nearest Neighbor to speed up this process.

    undefined

    Step 3

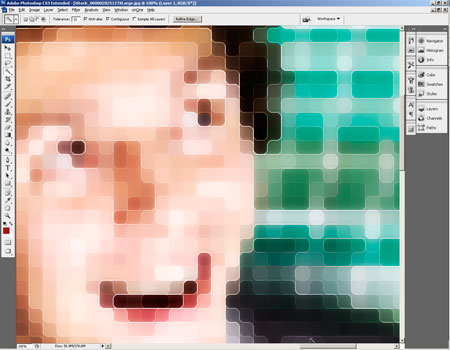
    Before we continue, zoom out so that you can see the whole image. Now open the Filter> Pixelate menu and select Mosaic. In the Mosaic filter tool, adjust the cell size to the largest possible that will retain important details. If you are working on a portrait, you can simply look at the eyes as you adjust the cell size.

    undefined

    Step 4

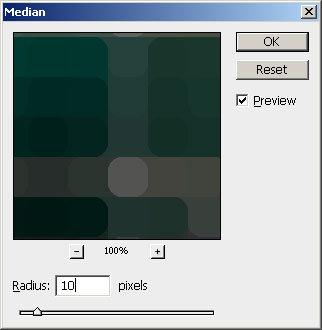
    The image is pixelated, but it doesn't look very special. So before we continue, we'll curve the edges for a more contemporary effect. To do this, open the Filter> Noise menu and select Median. Adjust the radius of the filter until you get the rounded corners that you like.

    undefined


    Step 5

    We're done creating the tile pattern, so we'll work on creating the outline now. Duplicate the layer by pressing Ctrl+J or opening the Layer menu and selecting Duplicate. Next, change the blending mode of the new layer to Screen.

    undefined

    Step 6

    Apply a find edges filter by opening the Filter> Stylize menu and selecting Find Edges. This filter draws an outline of the edges.

    undefined

    Step 7

    Press Ctrl+I or open the Image> Adjustments menu and select Invert. The outline should be blended into the photo.

    undefined

    Step 8

    The tiles and outline effect is now complete. But the effect looks flat and boring. In the next steps, we'll enhance it using a new layer that will add depth and a glow effect to the tiles. First, press Shift+Ctrl+E or open the Layer menu and select Merge Visible. This will create a duplicate of the image as a single layer. Change the blending mode to Overlay. By adding a duplicate of the image with an Overlay blending mode, we can increase the contrast which will enhance the appearance of depth in the tiles.

    undefined


    Step 9

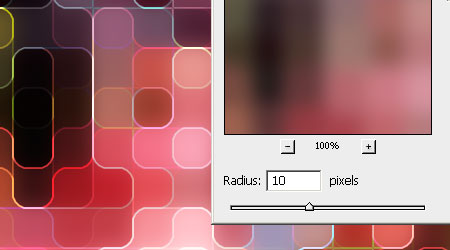
    Now we'll add a dramatic glow to the tiles. Before we begin, zoom in to 100% so that you can see the individual tiles. Open the Filter> Blur menu and select Gaussian Blur. In the Gaussian Blur filter tool, adjust the radius so that the tiles create a soft glow effect.

    undefined

    Step 10

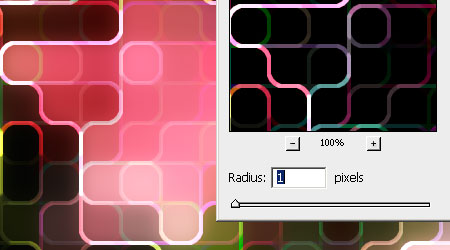
    We're done! But here's one more step in case you feel that the outline is too thin and you would like to thicken it. Open the Filter> Other menu and select Maximum. Adjust the radius slightly to increase the size of the outline. Click OK when done.

    undefined

    Final Results

    Original Photo

    undefined

    Disco Tiles Photoshop Tutorial

    undefined

    undefined

    undefined

    ReadMore...