8:43:00 PM

(0) Comments

Use Motion Guide to drive a car

design

Step 1: Create a new document and press Ctrl-J to open Document Properties dialog, set your document to 450px width and 192px height to fit with the road image

MotionGuideToDriveCar1

Next you will need to find two images car and road or use the images below

Car:

car.gif

Road:

road

(A cute image, right?)

Step 2: Go to File>Import>Import to Library and select these images from the dialog. Press Ctrl-L to open up the Library panel if you don't see it

MotionGuideToDriveCar2

Step 3: Place the road image on Layer 1 (the image has the same dimensions as your document), rename this layer Road. Create a new layer and place your car on the right hand side of the road image

MotionGuideToDriveCar3

Step 4: Use the Free Transform Tool(Q) to rotate our car to fit with the road

MotionGuideToDriveCar4

Step 5: Create a new Motion Guide layer and use the Pen Tool(P) to draw a path like this (its color is not important)

MotionGuideToDriveCar5

Step 6: Click on frame 45 and press F6 to place a keyframe there, repeat this step with car and road layers

MotionGuideToDriveCar6

Step 7: Click on the frame 45 of the Car layer and move our car to the left hand side of the road. Use the Free Transform Tool to rotate our car a bit

MotionGuideToDriveCar7

Step 8: Right click on any frame between 0 and 45 of the car layer and select Create Motion Tween. Now you can press Ctrl-Enter to test your result. Notice that you will see our car moving along the path but its direction is not correct

Click on frame 4 of Car layer and press F6 to place a keyframe here, then select the Free Transform Tool to rotate it a bit

MotionGuideToDriveCar8

Repeat this step with some other frames. You can see my process below

MotionGuideToDriveCar9

MotionGuideToDriveCar10

MotionGuideToDriveCar11


ReadMore...

8:36:00 PM

(0) Comments

Cloud Logo

design

Step 1

Firstly, we are going to be creating a new document. The dimensions I have used are 600 pixels wide and 420 pixels high. Fill in the background with a subtle radial gradient from #4d99ca to #2c7bb4.

Step 2

On a new layer use the ellipticial marquee tool to form a cloud shape. To add to a selection, hold down the shift key while selecting with a marquee tool.


Step 3

Fill your cloud selection with white. To fill a selection simply go Edit > Fill with the colour #ffffff. Line the cloud up in the center of the document if you want, but we’ll be duplicating it and such later on anyway.

Step 4

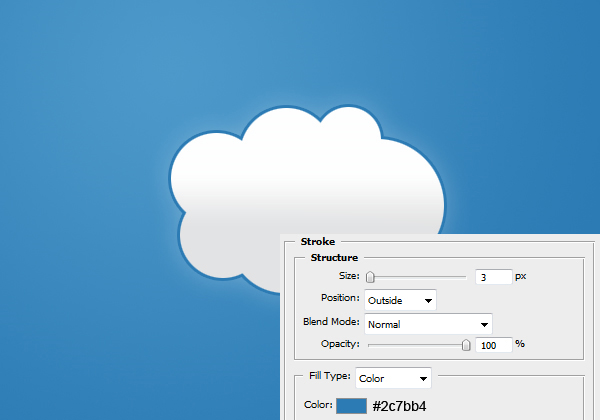
Now we are going to be adding some layer styles to our cloud. To adjust layer styles right click the layer and select blending options.
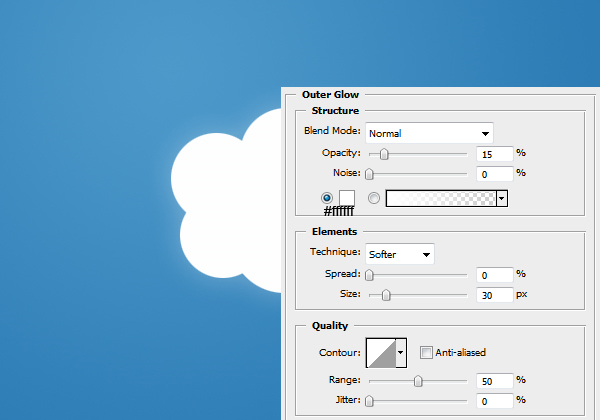
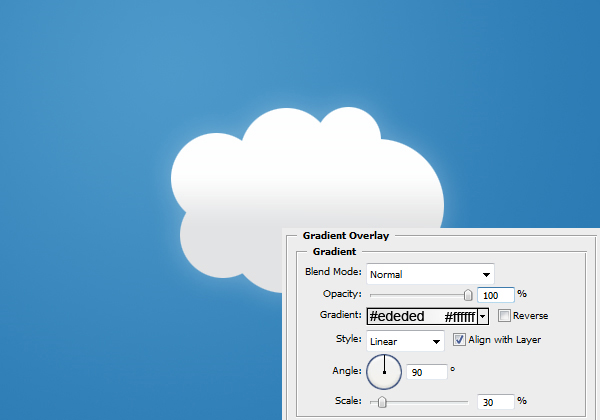
Result:

Step 5

Duplicate the cloud layer (Ctrl + J) and reduce the size of it (in proportion - so hold down the shift key). To transform the size of an object just go Edit > Transform > Scale or Ctrl + T. Move the clouds around until you have them in a position that you like the look of. Ensure that you have some space to stick the text to come though.

Step 6

Select the text tool and write the name of your site there. I’ve used one of the Vista fonts ‘Cambria’. I’ve also given the text a dark outer glow effect too.
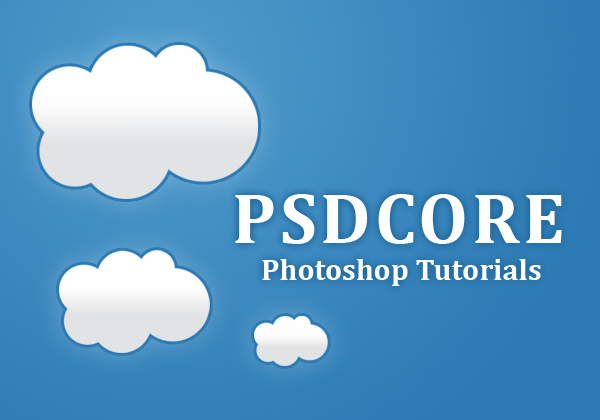


ReadMore...

8:26:00 PM

(0) Comments

Vista Styled Text

design

Step 1

To start with, create a new document about 600 pixels by 420 pixels. Fill the background with a radial using the colour #23849e and #03675b.


Step 2

On a new layer apply a radial gradient from #023d3f to transparent in the bottom left corner.


Step 3

Select the text tool and add type the name of your site. The font I’ve chosen for this tutorial is Adobe Caslon Pro with a colour of #023d3f.

Step 4

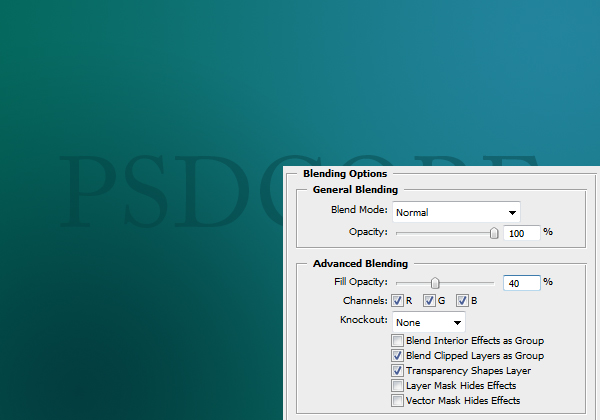
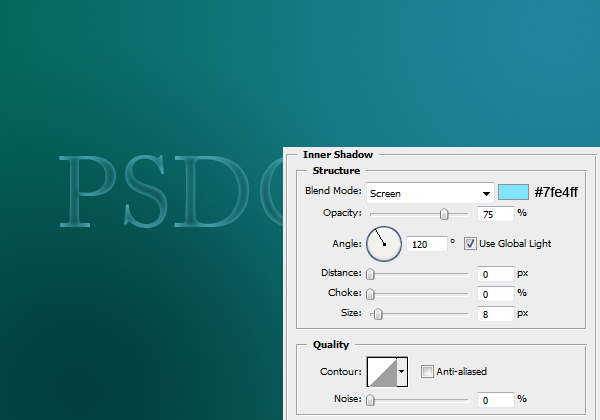
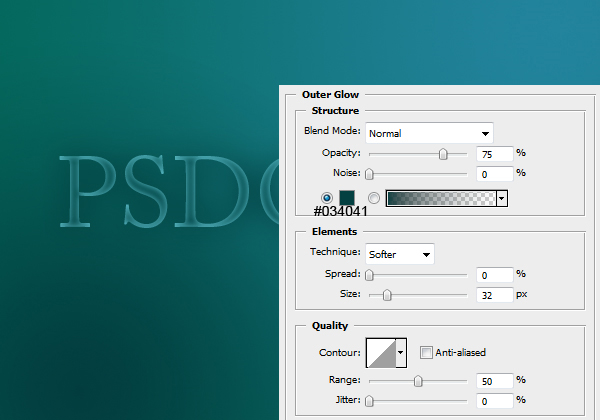
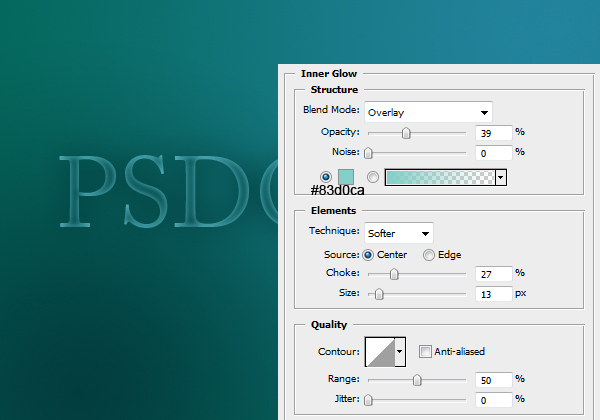
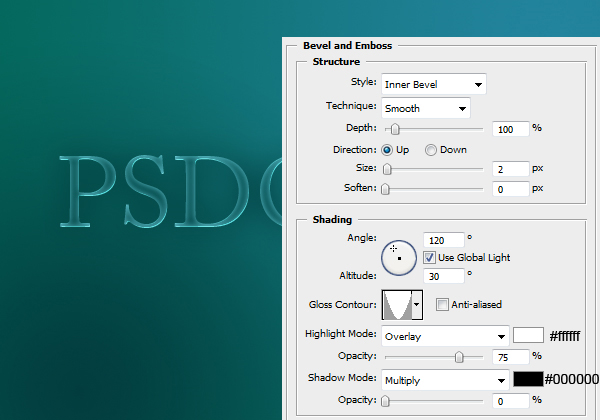
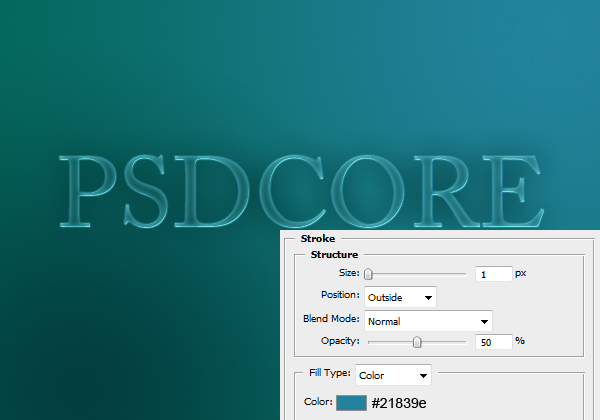
Now we are going to be applying a few layer styles to our text to make it clear and glossy looking.

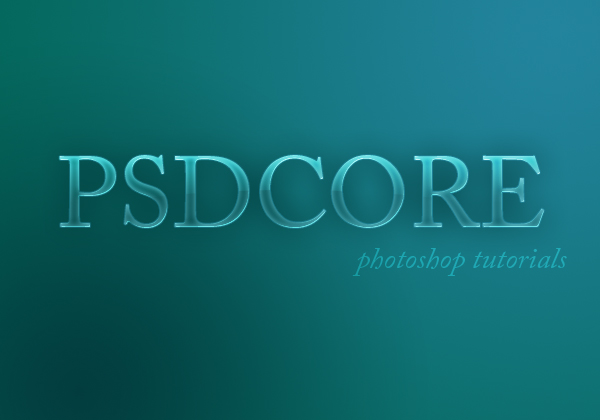
Result:

Step 5

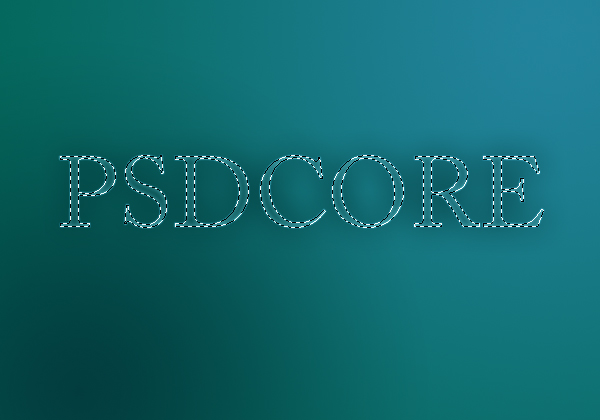
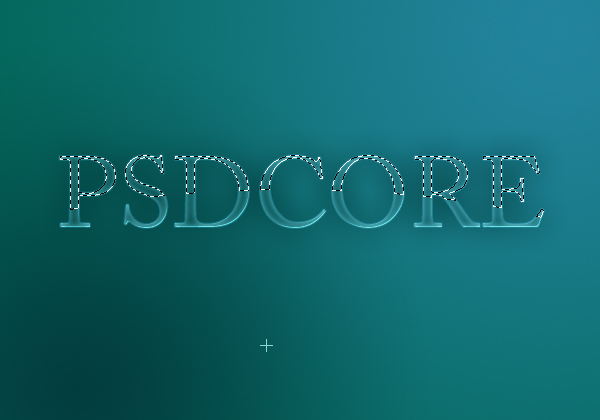
Next up is the shine effect. Create a new layer and select the area of the text (Ctrl + Click icon in the layers window).

Step 6

Using the elliptical marquee tool deselect the bottom half (hold down the Alt key to deselect from a selection).

Step 7

Select the gradient tool and set it to linear, and fill the selection with a gradient from white to transparent. Set the blend mode to Overlay and the opacity to 75%.

Step 8

As a finishing touch, I’ve added a couple of words in the same font but this time italics.

Alternative background

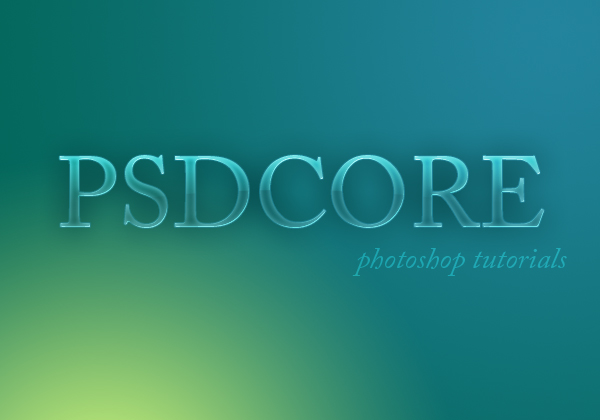
Instead of using the dark green colour for the bottom left, a bright yellow can also work in with the vista theme. The hex code is #d7fa7b for the yellow.


ReadMore...

7:58:00 PM

(0) Comments

Retouch a lady with Photoshop

design

Step 1: Take a picture you want, a portrait may be the best. If you feel lazy, you can use the picture below:

Retouchphotoshop1


Step 2: Duplicate your image (hit Ctrl-J) and go to Filter>Blur>Gaussian Blur. Fill in 6.1 for the radius and hit OK. By blurring this layer, we can make her skin smoother and brighter

Retouchphotoshop2

Step 3: Go to Image>Adjustments>Desaturate to turn this layer into a black-and-white image, this will greatly increase the contrast on the lady. Change the blending mode of this layer to Overlay. The Overlay mode just leaves bright and dark colors get through, so the colors are greatly enhanced.

Retouchphotoshop4

Step 4: Hit Ctrl-Alt-Shift-E to create a new flatten layer, which is the result of all visible layers below. On this new layer, apply a gradient map on it

Retouchphotoshop5

Set your settings as following:

Retouchphotoshop6

Retouchphotoshop7

Step 5: Once you finished, change the blending mode of this gradient map to Soft Light. Your photo now become brighter and "softer"

Retouchphotoshop8

Step 6: If you see your photo a bit too bright then reduce the Opacity of this map to 50%

Retouchphotoshop9

It looks better, doesn't it?

Step 7: We just have to make some subtle changes on her lips. Press Ctrl-Shift-Alt-E again to make another flatten layer. Create a new layer and go to Edit>Fill and fill it with 50% gray option. Change the blending mode to Overlay. As you see, this layer seems transparent because Overlay does not let gray get through. Why do we do it? Because we can retouch on this separate layer without destroying the original one!

Use the Burn tool to trace along her lips. As you see, they are now pinker. Remember you should work with a small, soft brush

Retouchphotoshop10

Step 8: Repeat step 7 with her eyebrows. Reduce the Exposure parameter of the Burn tool to make it look realistic. You can see my result below:

Retouchphotoshop11


ReadMore...

7:40:00 PM

(0) Comments

Alternate Ajax Techniques, Part 1

design

By now, nearly everyone who works in web development has heard of the term Ajax, which is simply a term to describe client-server communication achieved without reloading the current page. Most articles on Ajax have focused on using XMLHttp as the means to achieving such communication, but Ajax techniques aren't limited to just XMLHttp. There are several other methods; we'll explore some of the more common ones in this series of articles.


Dynamic Script Loading

The first alternate Ajax technique is dynamic script loading. The concept is simple: create a new


The JavaScript file example1.js contains a single line:

callback("Hello world!");

When the button is clicked, the makeRequest() function is called, initiating the dynamic script loading. Since the newly loaded script is in context of the page, it can access and call the callback() function, which can do use the returned value as it pleases. This example works in any DOM-compliant browsers (Internet Explorer 5.0+, Safari, Firefox, and Opera 7.0+), try it for yourself or download the examples.

More Complex Communication

Sometimes you'll want to load a static JavaScript file from the server, as in the previous example, but sometimes you'll want to return data based on some sort of information. This introduces a level of complexity to dynamic script loading beyond the previous example.

First, you need a way to pass data to the server. This can be accomplished by attaching query string arguments to the JavaScript file URL. Of course, JavaScript files can't access query string information about themselves, so you'll need to use some sort of server-side logic to handle the request and output the correct JavaScript. Here's a function to help with the process:

function makeRequest(sUrl, oParams) {
for (sName in oParams) {
if (sUrl.indexOf("?") > -1) {
sUrl += "&";
} else {
sUrl += "?";
}
sUrl += encodeURIComponent(sName) + "=" + encodeURIComponent(oParams[sName]);
}

var oScript = document.createElement("script");
oScript.src = sUrl;
document.body.appendChild(oScript);
}

This function expects to be passed a URL for a JavaScript file and an object containing query string arguments. The query string is constructed inside of the function by iterating over the properties of this object. Then, the familiar dynamic script loading technique is used. This function can be called as follows:

var oParams = {
"param1": "value1",
"param2": "value2"
};
makeRequest("/path/to/myjs.php", oParams)


ReadMore...