

Step 1
Firstly, we are going to be creating a new document. The dimensions I have used are 600 pixels wide and 420 pixels high. Fill in the background with a subtle radial gradient from #4d99ca to #2c7bb4.

Step 2
On a new layer use the ellipticial marquee tool to form a cloud shape. To add to a selection, hold down the shift key while selecting with a marquee tool.

Step 3
Fill your cloud selection with white. To fill a selection simply go Edit > Fill with the colour #ffffff. Line the cloud up in the center of the document if you want, but we’ll be duplicating it and such later on anyway.

Step 4
Now we are going to be adding some layer styles to our cloud. To adjust layer styles right click the layer and select blending options.
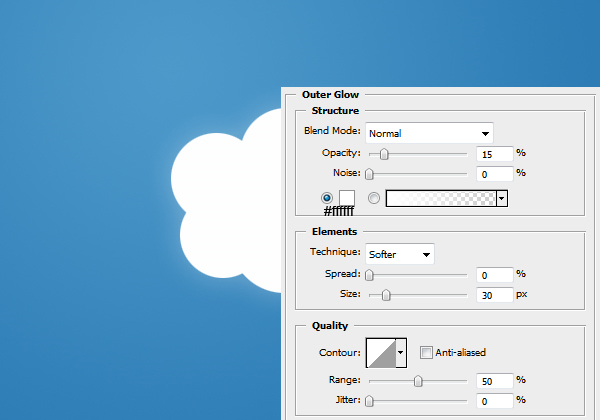
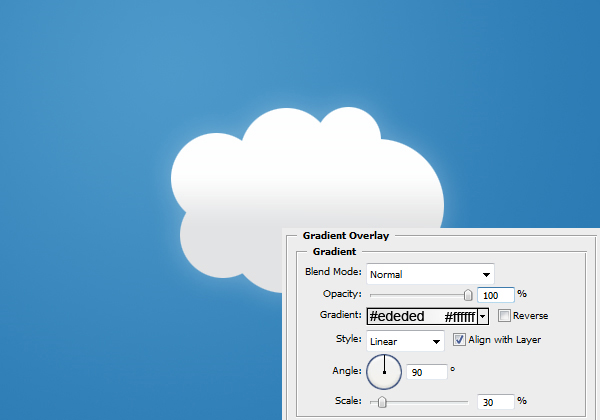
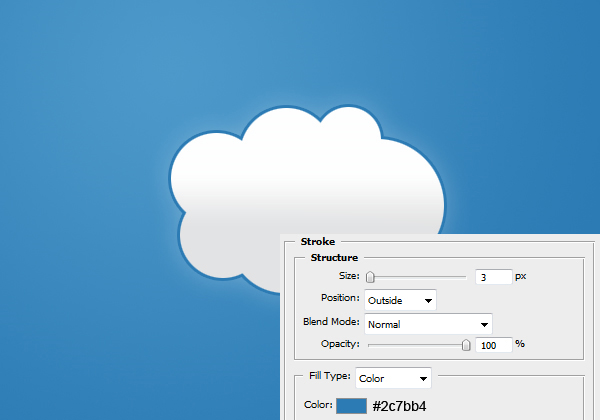
Result:

Step 5
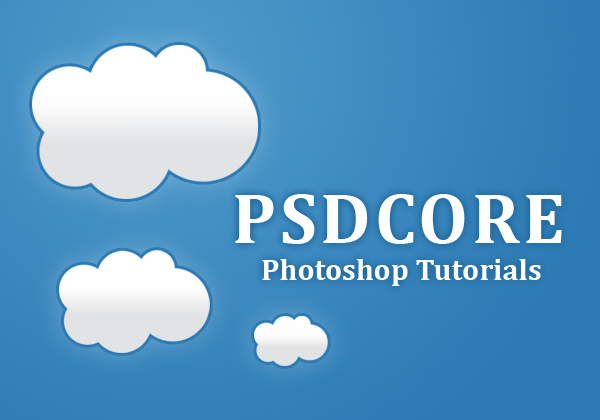
Duplicate the cloud layer (Ctrl + J) and reduce the size of it (in proportion - so hold down the shift key). To transform the size of an object just go Edit > Transform > Scale or Ctrl + T. Move the clouds around until you have them in a position that you like the look of. Ensure that you have some space to stick the text to come though.

Step 6
Select the text tool and write the name of your site there. I’ve used one of the Vista fonts ‘Cambria’. I’ve also given the text a dark outer glow effect too.

Post a Comment