

Step 1
To start with, create a new document about 600 pixels by 420 pixels. Fill the background with a radial using the colour #23849e and #03675b.

Step 2
On a new layer apply a radial gradient from #023d3f to transparent in the bottom left corner.

Step 3
Select the text tool and add type the name of your site. The font I’ve chosen for this tutorial is Adobe Caslon Pro with a colour of #023d3f.

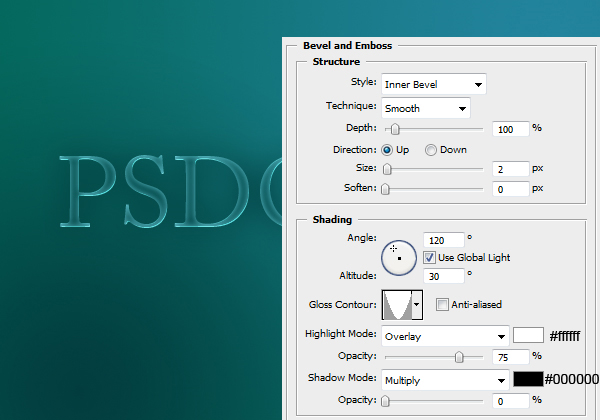
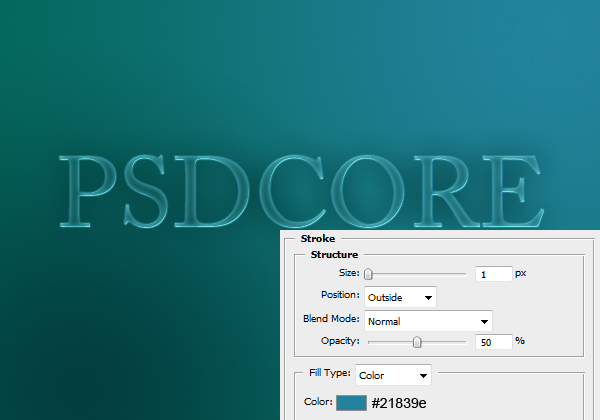
Step 4
Now we are going to be applying a few layer styles to our text to make it clear and glossy looking.
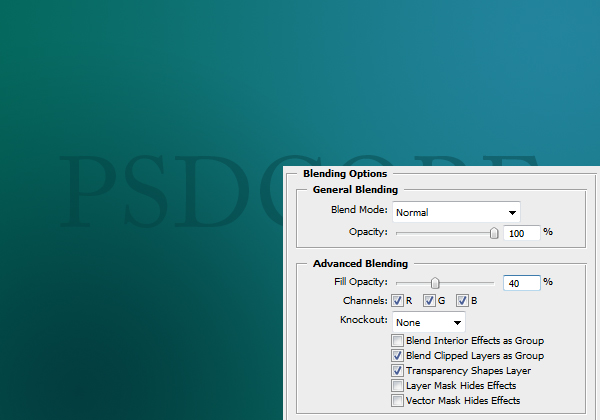
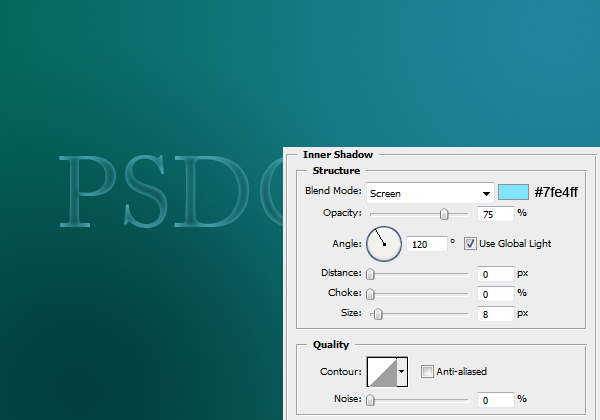
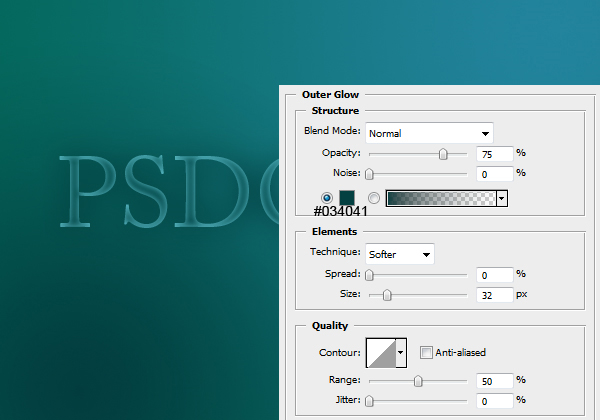
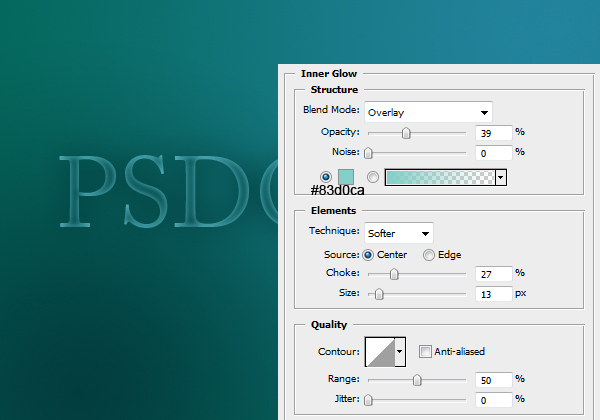
Result:

Step 5
Next up is the shine effect. Create a new layer and select the area of the text (Ctrl + Click icon in the layers window).

Step 6
Using the elliptical marquee tool deselect the bottom half (hold down the Alt key to deselect from a selection).

Step 7
Select the gradient tool and set it to linear, and fill the selection with a gradient from white to transparent. Set the blend mode to Overlay and the opacity to 75%.

Step 8
As a finishing touch, I’ve added a couple of words in the same font but this time italics.

Alternative background
Instead of using the dark green colour for the bottom left, a bright yellow can also work in with the vista theme. The hex code is #d7fa7b for the yellow.


Post a Comment