

10:24:00 PM
Final image after stretching 1 pixel
Open a document 400x400.
The gradient which i have used for this tutorial is available here.
Place the image on the canvas.
Stretch it vertically using transform tool right click or crtl+T.
On the menu now use warp. Duplicate this in 4 layers.
Now its time to shape it up. Use the grid (ctrl+') for better shaping.
Follow the steps for the bottom part as you did for the top part.
From the lower part select one pixel or use the duplicate of the first 1 pixel image.
Repeat the same for shaping as you did for the top part of the glass.
For the bottom part use transform > perspective, to give a slope.
The lowest part use some curve as shown below.
Now you have got the wine glass ready.
To give some life to it, lets pour some wine to it.
Cut lower part of the glass using rectangular marquee as shown below. Make a new layer and paste it. Align it to the bottom of the top part.
Change the hue to the following. Dont forget to check the colorize box (adjust till it becomes the wine color)
Take the darkest color from the glass corner, and apply to background color.
Go to filters > glass. Make the settings to
Frost / distortion 1 and smoothness to 1.
The final results will be like this. I have applied some drop shadow and a table cloth and a reflection.
Now you can do some trial.
Make a wine bottle ?
Yes You Can.
9:40:00 PM
Create a new file (File>New) of 1680x1050px and 300dpi. Using the Paint Bucket Tool (G)
Paint Bucket Tool (G).  The Paint Bucket tool fills adjacent pixels that are similar in color value to the pixels you click.'); return false">Paint Bucket Tool (G), give the new file black color.
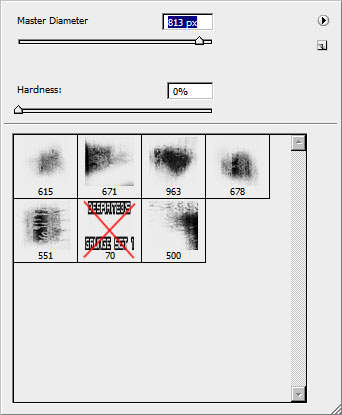
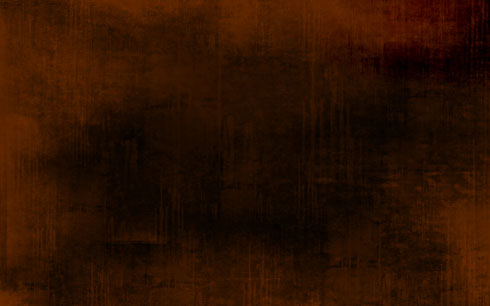
Download a set of ready to use brushes for Adobe Photoshop: D_Grungeset1. We shall apply all the brushes, except the one marked with red cross for representing the background of the picture we want to have in the end. The brush’s color is #532100. Opacity 20%
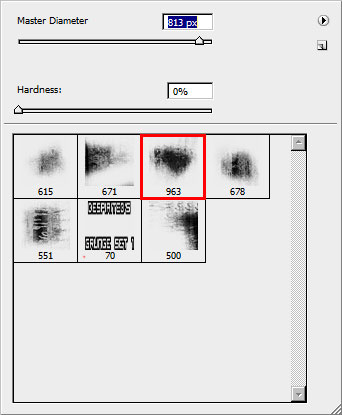
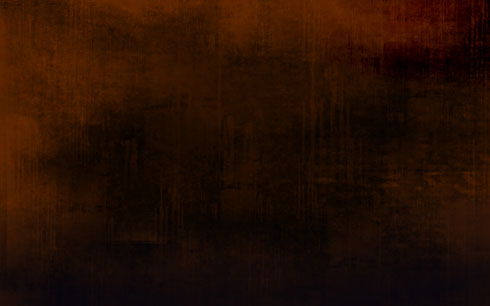
Use now the brush indicated below to represent the background’s nuance on the bottom part of the picture. This brush we’ll apply for other elements too. Its color is #04020F. Opacity: 20%.
Create a new layer where we shall apply the earlier mentioned brush but with a larger diameter.
On the next layer (Create new layer) we’ll use the same brush, but of white color to represent the effect of the smoke on the bottom part of the picture. The Opacity is of 10%
Set the next shown parameters for the layer by making a mouse click on the layer on the layers’ panel.
Fill 36%
Blending mode-Pin Light
Use the above mentioned brush (Opacity 10%) to draw the black clouds on the top part of the picture:
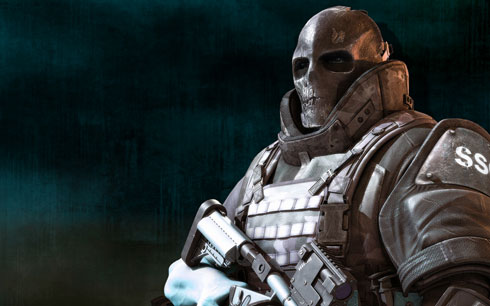
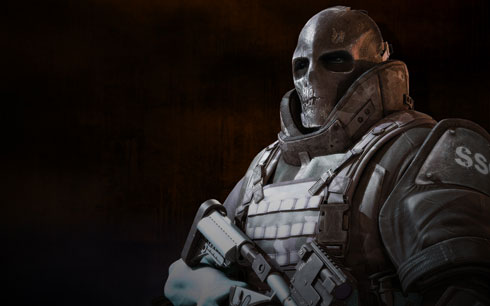
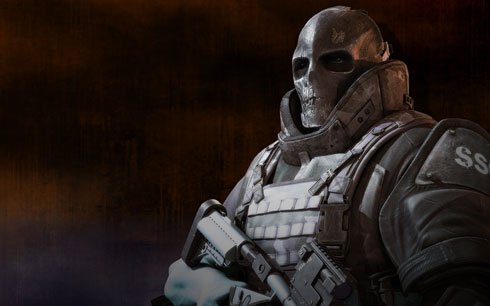
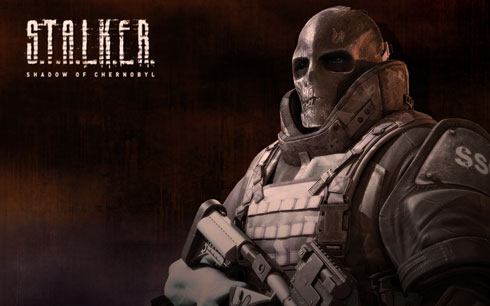
Find a picture containing Sci-Fi soldier (I use this picture).
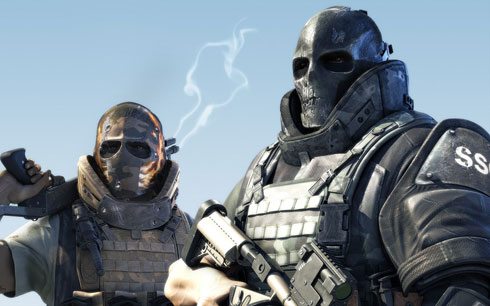
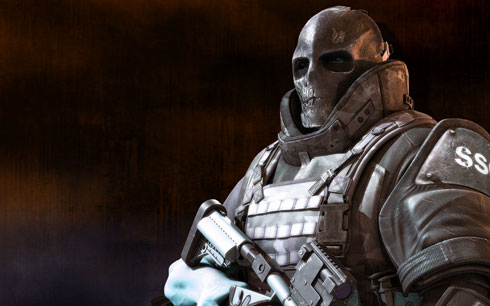
Cut them out and insert the characters on our basic picture:

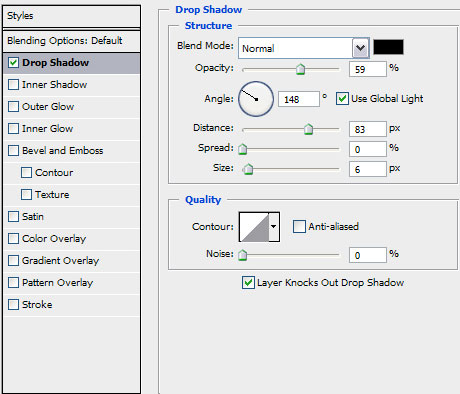
Select the next demonstrated parameters for the layer containing the characters: Blending Options>Drop Shadow
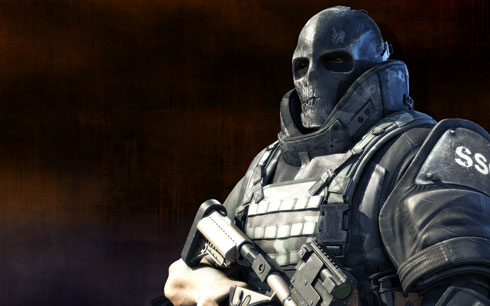
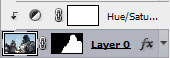
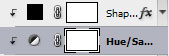
Make a mouse click on the bottom part of the layers’ panel on Create new fill or adjustment layer>Hue/Saturation
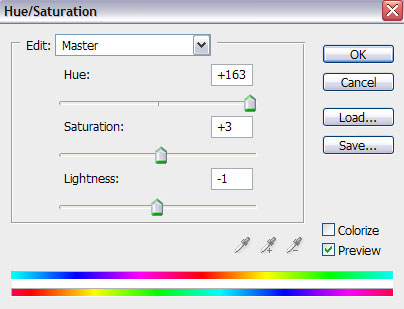
Press Alt button to make a mouse click between the layers of the characters’ photo and the layer with the effect Hue/Saturation (on the layers’ panel).
Represent a kind of darkening, applying in this case the Rectangle Tool (U).
The layer’s parameters: Fill 0%
Blending Options>Gradient Overlay
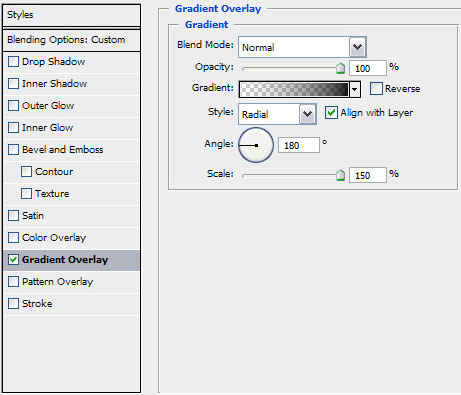
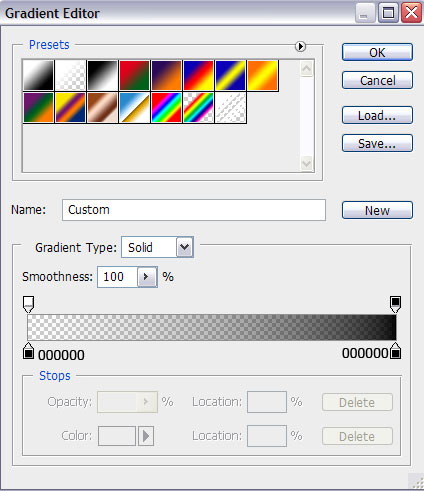
Gradient’s parameters:
Keep pressed Alt button while making a mouse click between the layer with the darkening and the previous layer (on the layers’ panel).
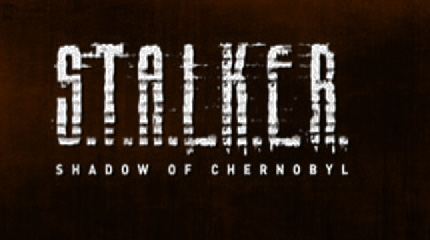
Find in Internet the “STALKER” logo, cut it out and insert it on the left top corner of our picture.
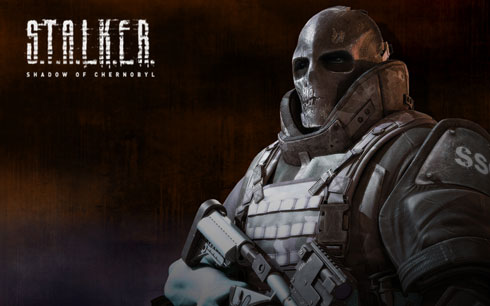
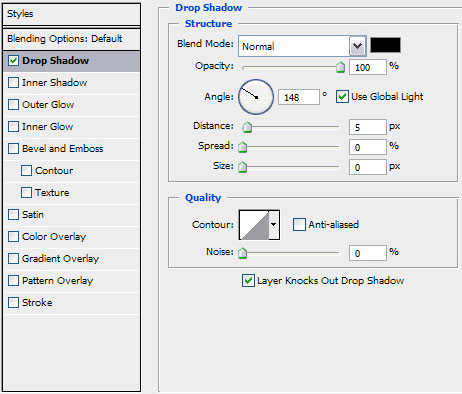
Set the next demonstrated parameters for the layer containing the logotype. Blending Options>Drop Shadow
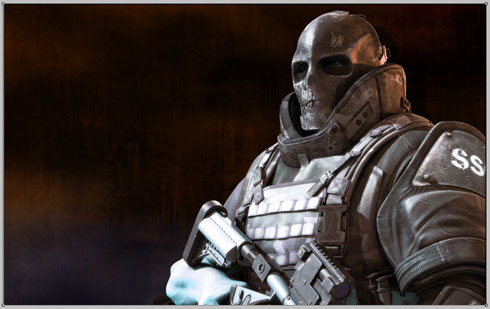
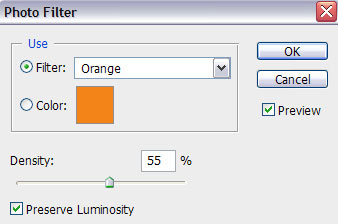
On the last stage we’ll change the general color’s nuance of the picture. In this case we have to make a mouse click on the bottom part of the layers’ panel on Create new fill or adjustment layer>Photo Filter
9:33:00 PM
Final image

Step 1
Tipe new text layer.

Step 2
Rasterize layer and with selected parts of text and free transform tool conect leters.

Step 3
Duplicate layer.

Step 4
To duplicated layer give stroke.

Step 5
First layer who's now inside of second layer, select and trim second layer.

Step 6
Delete first layer. now we use only duplicated (second) layer.
To second layer give Gradient Overlay like in picture.

Step 7
Duplicate layer and give him vertical transformation.

Step 8
Then select both layers and tranform them with Perspective Transformation.

Step 9
Duplicate them and merge them togheter. then color them and move just a little in front off.

Step 10
Open new layer and start to drawing lighting effects.. Use Pen Tool.

Step 11
Color layer.

Step 12
With Eraser Tool erase some part of light.

Step 13
Then give Lighten effect.

Step 14
Open new layer as background, color him, put him behind and give Gradient Overlay like in picture.

Step 15
Final
