9:31:00 PM
Step 1

Step 2
Select Filter > Artistic > Smudge Stick with the next settings:

Step 3
Add a new layer in the Layer Tab, draw a rectangle with a white color and add shadow to this layer; this new layer must be below the layer that contains the picture:

Add a small border to the rectangle, if you want, using the Layer > Layer Style > Drop Shadow.
Step 4
Now add a color to the layer “background” and some kind of texture using another picture and the “Blending Options” in the Layers Tab:
9:25:00 PM
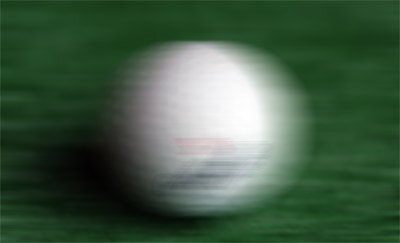
This tutorial will show you how to quickly add motion to your images in a few easy steps.
First open your image.
Next thing, right click on the layer and choose “duplicate layer”. Now on the duplicated layer go to Filters > Blur > Motion blur. Set the angle to “0″. Choose the power according to the amount of “speed” you want your image to have. Now the image should look something like this:
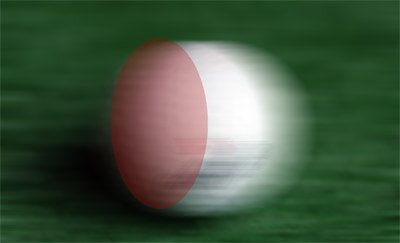
Now, just pick the eraser and choose a large soft brush and erase the area I highlighted below:
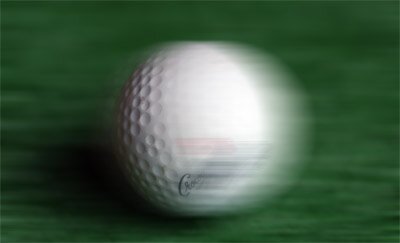
That’s it! The image should look something like this:
ReadMore...
9:09:00 PM
Step 1


Step 2
Open these pictures in Adobe Photoshop. Choose “initial-signle-eye.jpg” to work on it. With Circular Marquee select a area like this:

Step 3
Now Select > Feather > Feather Selection “5 pixels”:

Step 4
CTRL+C to copy the selected area. Choose “initial-photograph.jpg” to paste the selection. The result should be like this:

Step 5
Resize the eye:

Step 6
In Tab Layers set up the effect “Luminosity”:

Step 7
Adjust the picture to be more “realistic” and that’s the result:

9:03:00 PM
Step 1
Step 2
Inside the document type your company name and company slogan with what font you want. I’ve used “Arial Black” for company name and “Arial Regular” for the slogan:

Step 3
Choose a color for your text. For the company text a grey color and for slogan a dark blue color. Resize the text and add more space between the letters. Use the Character Tab for this operation. Set “tracking” to 100 for the “company” text and to 200 for the “slogan company” text:
![]()
Now you have a logotype for your company.
Step 4
Let’s create a simple symbol for this company. Select Ellipse Tool (L) and draw an ellipse above the logo text:

Step 5
Draw another one, right click on the selection and select Make Compound Path:
Step 6
With the Pen Tool selected draw an area like this:

Step 7
Select all beside the text, right click and choose Make Clipping Mask:
This should be te result:

Step 8
Duplicate your symbol, then rotate it like here and you have a new logo for your company:
![]()
1:00:00 AM
Step 1
Step 2
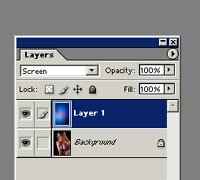
Use “drag and drop” to move the picture “neon-picture.jpg” over the “initial-neon-picture.jpg”. Now we have two layers “background” and “layer1”. Set the “blending mode for the layer” in Layers Tab to “screen” for the layer “Layer1”.
Step 3
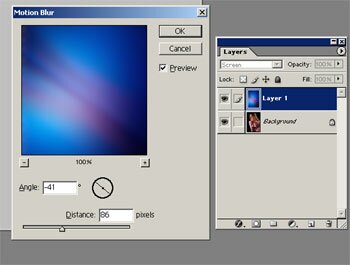
For the layer “Layer1” Filter > Blur > Motion Blur with these settings:
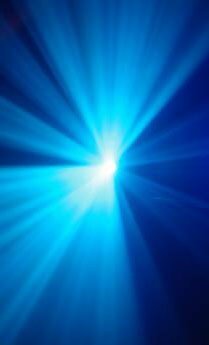
Repeat this step and apply again these settings and you should get the neon effect on you picture:

12:59:00 AM
Step 1
Step 2
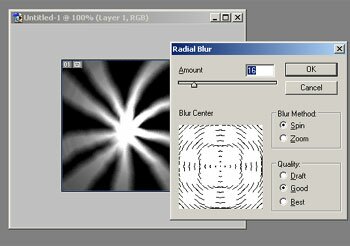
Now, set the Filter > Blur > Radial Blur with these settings:
Step 3
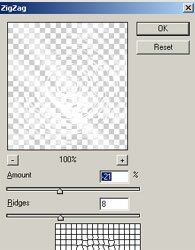
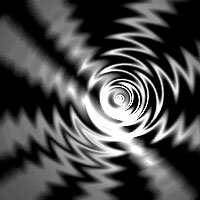
Choose Filter > Distort > Zig-Zag with the settings:
And the result:
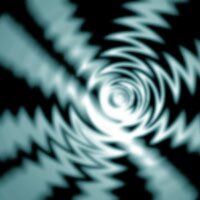
Step 4
Filter > Blur > Gaussian Blur with the radius “1.1” and add a new layer with a blue rectangle. Set the layer “blending mode” to “Soft Light”. You should get something like below:
If you configure Filter > Blur > Motion Blur with the settings:
And set the layer “blending mode” to “overlay” for the layer that contains the rectangle you obtain a metallic effect:
12:57:00 AM
Step 1

Step 2
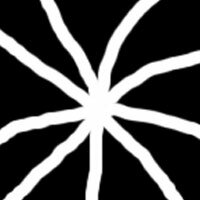
Choose Filter > Blur > Motion Blur with this settings:

Step 3
Using the Paint Bucket Tool (Tools Tab) color all the lines with white and the background with black. Like this:

Step 5
Select Filter > Blur > Radial Blur with the next settings:

And you obtain:

Step 6
Draw a rectangle in a new layer with the color “#20424B” and set the layer “blending mode” (in the Layers Tab) to “Soft Light”.
That’s all. Here is the result: a centrifugal movement effect.

12:56:00 AM
Step 1

Step 2
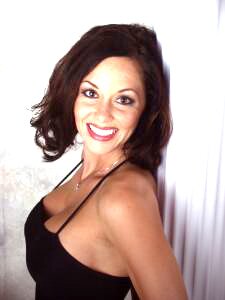
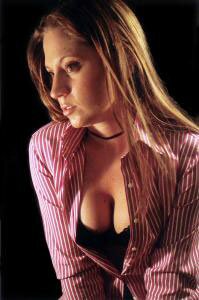
Duplicate your picture in the Layers Tab and clear everything except the face skin like this:

Step 3
Now choose Filter > Blur > Gaussian Blur with the settings (for the layer which you duplicated):

Step 4
Adjust the duplicate layer if needed, with a small brush tool, change the brightness and contrast of the “parent” layer (Image > Adjustments > Brightness/Contrast) using the settings:

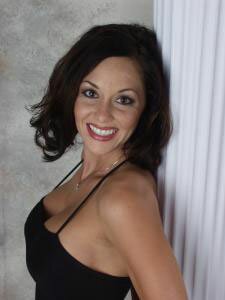
And that’s the results: a beautiful model photo for your magazine.

12:54:00 AM
Step 1
Step 2
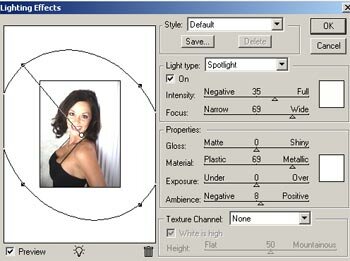
Add more luminosity to the picture using Filter > Render > Lighting Effects. Use the next settings and see the preview:
Step 3
Select Image > Adjustments > Color Balance to add more color to your picture, using these settings:
Step 3
A little more contrast Image > Adjustments > Brightness/Contrast with the settings:
And you have a new picture for your collection: