

12:59:00 AM
Step 1
Open a new document in Adobe Photoshop with a black background. Create a new layer and draw few lines like in the next picture, using the Brush Tool in the Tools Tab:

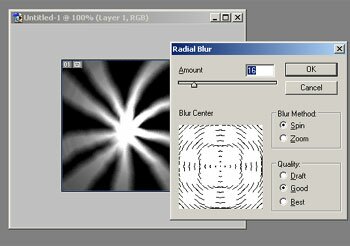
Step 2
Now, set the Filter > Blur > Radial Blur with these settings:
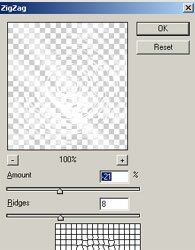
Step 3
Choose Filter > Distort > Zig-Zag with the settings:
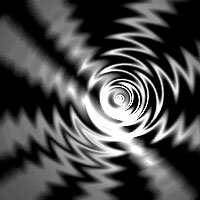
And the result:
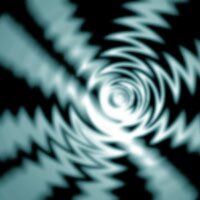
Step 4
Filter > Blur > Gaussian Blur with the radius “1.1” and add a new layer with a blue rectangle. Set the layer “blending mode” to “Soft Light”. You should get something like below:
If you configure Filter > Blur > Motion Blur with the settings:
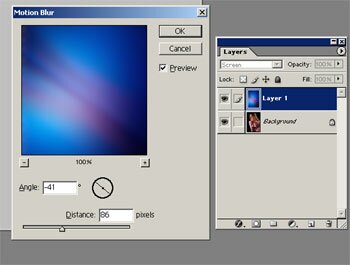
And set the layer “blending mode” to “overlay” for the layer that contains the rectangle you obtain a metallic effect:


Post a Comment