1:46:00 PM
Circuit Board
design
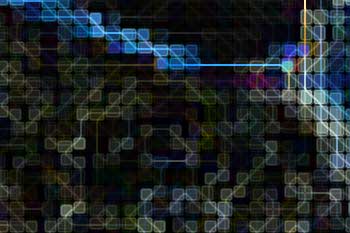
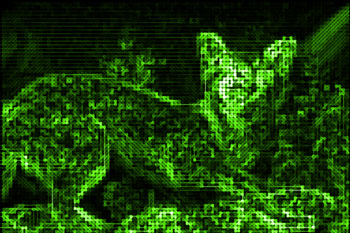
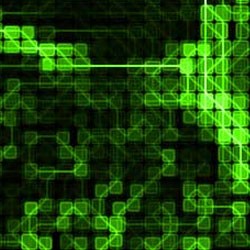 Transform a regular photo into a high-tech artwork made up of blocks and connectors resembling a circuit board.
Creating the Blocks
First, we'll create convert the image to blocks using a combination of Photoshop filters.
Step 1
Open a photo you would like to edit. We recommend using a high resolution image of at least 1000x1000 pixels. It is also fine to upscale a low resolution image before using this effect.
Step 2
Duplicate the layer (Layer> Duplicate Layer or Ctrl+J). 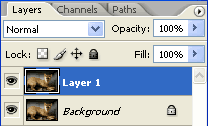
Step 3
Activate the top layer and apply a Mosaic filter (Filter> Pixelate> Mosaic) with a cell size of 16 square. 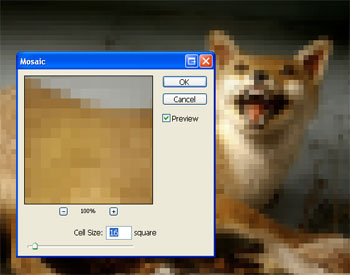
Step 4
Apply a Find Edges filter (Filter> Stylize> Find Edges). 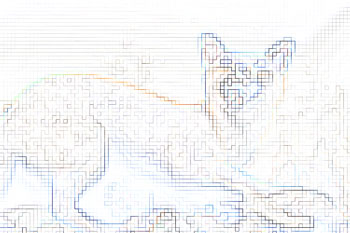
Step 5
Apply a Median filter (Filter> Noise> Median) with a radius of 2 pixels. 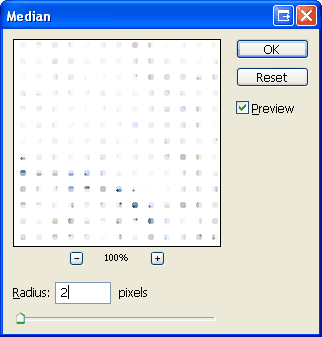
Step 6
Apply a Minimum filter (Filter> Other> Minimum) with a radius by 4 pixels. 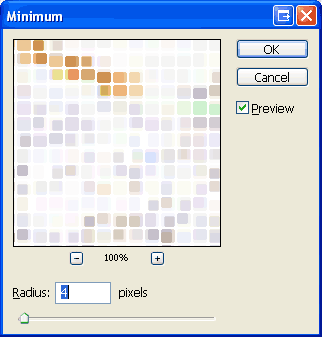
Step 7
Finally, invert the current layer (Image> Adjustments> Invert or Ctrl+I). 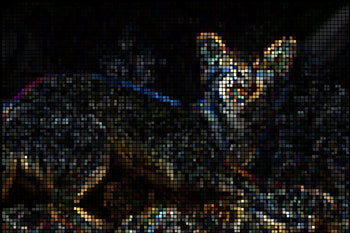
Adding an Outline to the Blocks
Now that we have the blocks created, we'll add a simple outline around them.
Step 8
Duplicate the top layer (Layer> Duplicate Layer or Ctrl+J) and change the blending mode of the new layer to Screen. 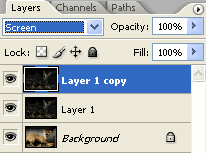
Step 9
Apply a Find Edges filter (Filter> Stylize> Find Edges). 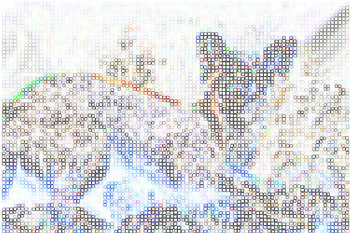
Step 10
Invert the current layer (Image> Adjustments> Invert or Ctrl+I) and the outline should blend into the image. One last thing to do is to reduce the opacityCreating the Connectors
We're almost done with the effect. All we need to do now is add the connectors. This is a simple process using a few Photoshop filters.
Step 11
Duplicate the Background layer (Layer> Duplicate Layer or Ctrl+J) and move it to the top. 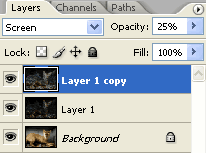
Step 12
Apply a Mosaic filter (Filter> Pixelate> Mosaic) with a cell size of 16 square. 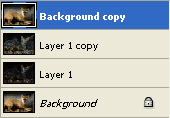
Step 13
Activate the new top layer and apply a Median filter with a radius of 8 pixels. 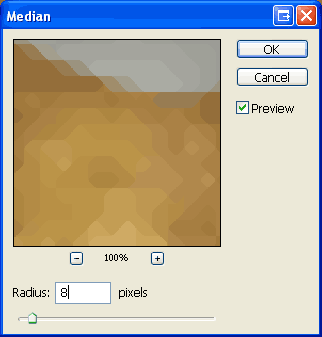
Step 14
As you might have guessed, we'll now apply a Find Edges filter (Filter> Stylize> Find Edges). 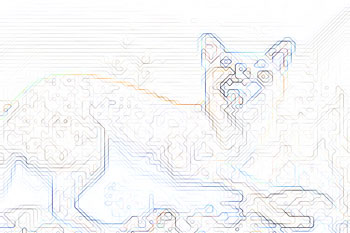
Step 15
Finally, invert the current layer (Image> Adjustments> Invert or Ctrl+I) and change the blending mode to Screen. 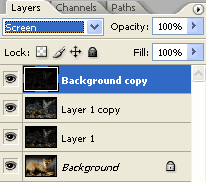
Colorizing the Final Results
This step is optional. If you would like to colorize the final results, follow this step:
Step 16
Add a new Hue/Saturation adjustment layer (Layer> New Adjustment Layer> Hue/Saturation) as the top layer. Checkmark Colorize and apply your desired color settings. Here are the settings I've used for this step:
Colorize: Checked
Hue: 100
Saturation: 100
Lightness: 0 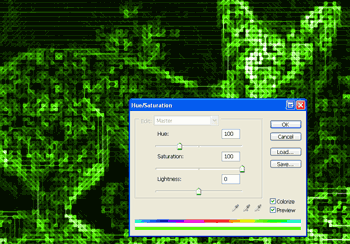
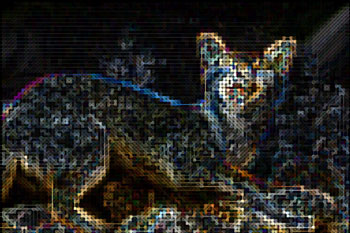
Final Results
Rollover the images below to see the before and after effect.
1 Response to "Circuit Board"


Post a Comment