

9:05:00 PM
Step 1
Step 2
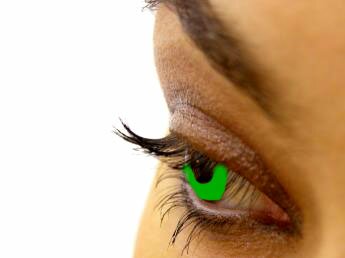
What we want to do now is to change the eyes’ color and some kind of “cosmetic adjustment”. To do this follow the next steps. Create a new layer in the Layers Tab and draw carefully around the center of the eye on top of the iris. Choose a small brush to do this step (you can find it in the Tools Tab):
Step 3
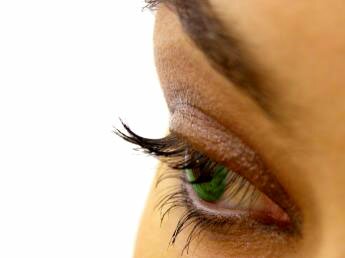
Change the “blending mode for the layer” to “Hue” and “Opacity” to 55%. You can find this options in the Layers Tab:
Step 4
Repeat the step 3 but this time with another layer and another color:
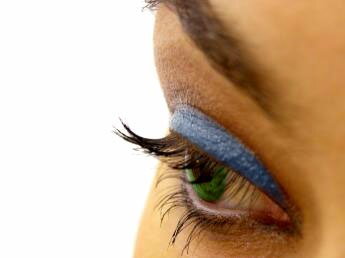
Step 5
Set the “blending mode” to “Hue” and the “Opacity” to 73% and you have a cosmetic effect on your picture:
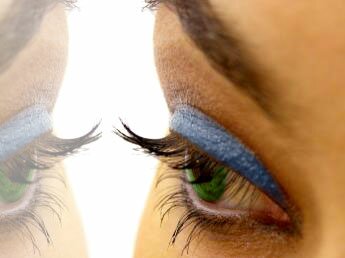
Step 6
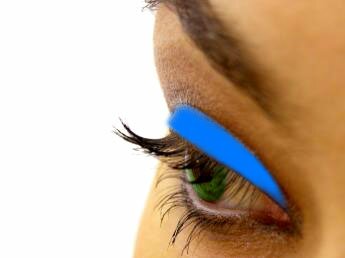
Duplicate all the layers and flip it horizontal (Edit > Transform > Flip Horizontal) and move it in the new position like here. Set the opacity to 44% and you obtain a mirror effect on your picture:

Post a Comment