

12:46:00 AM
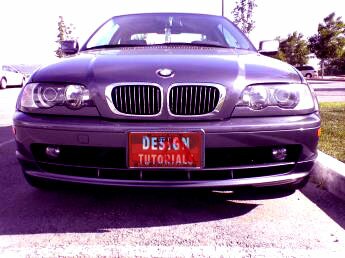
Step 1
Step 2
Right click on the layer in the Layers Tab and Duplicate Layer. Now we have two layers: the layer “background” and the layer “Background copy”:

Step 3
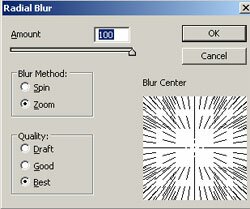
On the layer “background copy” apply the next effect: Filter > Blur > Radial Blur using the settings:
Step 4
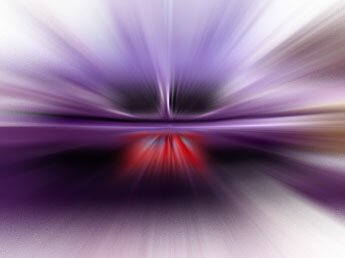
Apply the step 3 again:
Step 5
Resize the layer “background” to a small dimension like here:

Step 6
Select the layer “background copy” and delete an area using an “Airbrush Soft Round 100” (Brush Tool in the Tools Tab):
Step 7
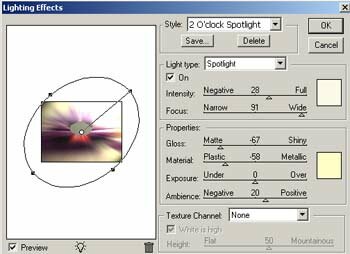
To the layer “background copy” apply the Filter > Render > Lighting Effects using the settings:
Step 8
Choose the layer “background” and apply the radial blur effect using Filter > Blur > Radial Blur with the settings: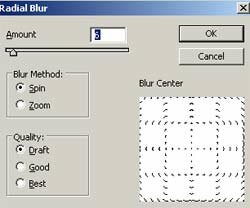
Step 9
Apply the radial blur again, for the same layer, but this time with the next settings:

Step 10
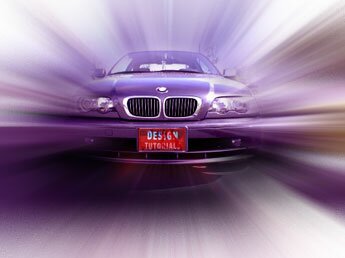
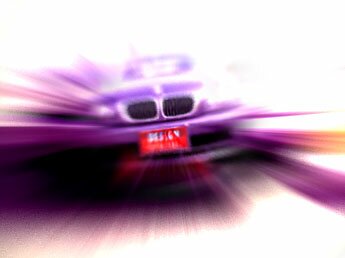
Rotate the layer “background” to the left and look at the result:

Now you can play with the contrast and luminosity settings on the layers:
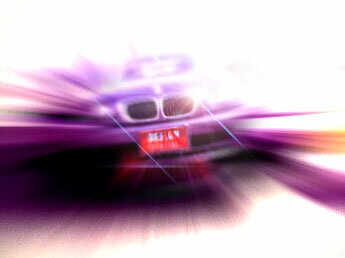
Add lens flare using Filter > Render > Lens Flare. I chose “Movie Prime” with 133% brightness settings:

Post a Comment