

12:24:00 AM
Step 1
In this tutorial you will learn how to create a virtual software product box that you can use on your website and in other marketing materials.Create a new document in Adobe Photoshop with the size 500x500 pixels. On a new layer draw a rectangle with the Rectangle Tool (you can find this tool on the Tools Tab). Set the background color for the rectangle to a light grey:

Step 2
Draw another rectangle having the dimension like in the next picture:

Step 3
Open a picture and draw it over the rectangle. Resize it if the picture is bigger then you need to get something like this:

Step 4
Using the Rectangle Tool (you can find this tool in the Tabs Tool) add more details on the product box:

Step 5
Use the Text Tool to add some kind of text on your product:

Step 6
Now in the Layers Tab “link” the layers which you created. To do this click on the link box highlighted below (do not link the layer “background”):
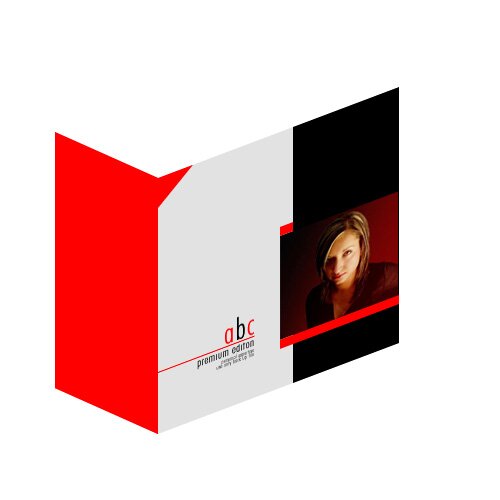
Step 7
Now we will add some perspective on the front of the box. To add perspective “rasterize” first the layers which contain text. To do this step select the layer in the Layers Tab and choose Rasterize. Repeat the step for all the layers which contain text. Return now to the perspective effect: select Edit > Transform > Perspective and distort the picture like this (drag down the center of the left border):

Step 8
Use the Rectangle Tool to draw the box margins:

“Rasterize” the layer and apply a perspective effect:
Add another margin to the box:

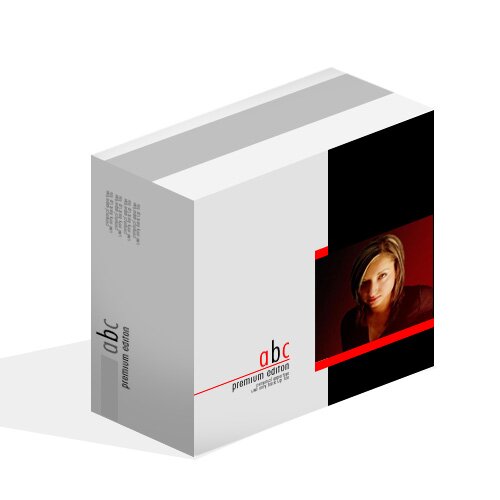
Step 9
You can now add some details on your product box and some shadow. This is a virtual software box for your product. You can use it on the web site or for multimedia presentations:

Post a Comment