

3:28:00 PM

Learn how to use the tools of Photoshop to create a scrapbook cover. In this beginner Photoshop tutorial, you will learn how to draw scrapbook elements such as tapes and thumbtacks.
Scrapbook Cover Photoshop Tutorial
Step 1: The Background
Open a wallpaper or image that resembles a book or report cover. Make sure to choose one that will look good with text and images stuck on to it.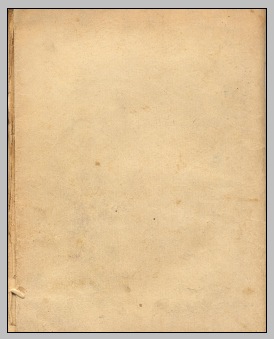
Step 2: Creating a Title
Type out a title, make it a big text size, I used 60pt. The font I used was Pristina. Now create a new layer called ‘background’ and in the layer panel move it below the text layer you just created. Change your foreground colour to a colour that contrasts the title’s colour. I used #d9d3c1. Using the Rectangular Selection Tool create a selection that fits behind the title. Now right click inside the selection and click Fill. Select ‘Foreground Color’, then Ok. Give this layer about a 75% opacity. It should now look something like this:

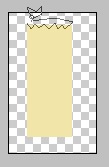
Step 3: Creating the Tape
Create a new layer called ‘tape’. Change your foreground colour to #f1e5a9, you may have to tweak it to look good with your background. Using the rectangular selection tool make a long rectangle shape. Right click in the rectangle selection and click Fill. Select ‘Foreground Color’ and then Ok. Now make cuts into the top and bottom of the rectangle using the Polygonal Lasso tool. To finish it off give the layer 60% opacity. It should now look some what like a piece of tape.
Step 4: Mount the Title using the Tape
Rotate, move, and resize the ‘tape’ layer until it looks like it is holding the left side of the title up. Duplicate the ‘tape’ layer and do the same process but so the tape is holding up the right side.

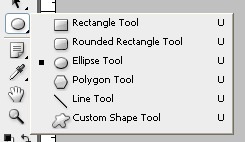
Step 5: Creating the Thumbtack
Now we are going to create a thumbtack. Select a foreground colour for the colour of the thumbtack. I used #94938f. Now create a small circle using the Ellipse Tool.
Now make another smaller darker coloured circle and move it to the upper right corner of the first circle. Next make circle a bit bigger than the previous one and the same colour as the first one. Move this circle so it is overlapping the previous circle.
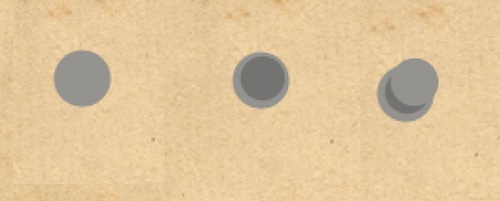
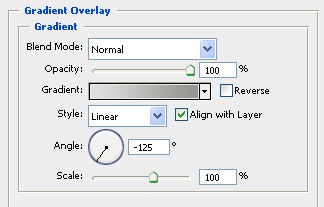
Change the foreground colour to #e1e1e0 and the background colour to #94938f. Now bring up the layer effects window for this layer (The last circle you created). Go down to ‘Gradient Overlay’ and input the following settings.
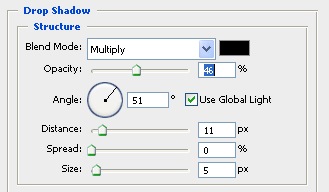
Once you are happy with the shape and colours of the thumbtack layers merge the layers and call the layer ‘thumbtack’. Next bring up the layer effects window for this ‘thumbtack’ layer and apply a drop shadow with these settings.
Step 6 – Creating the Peeling Image
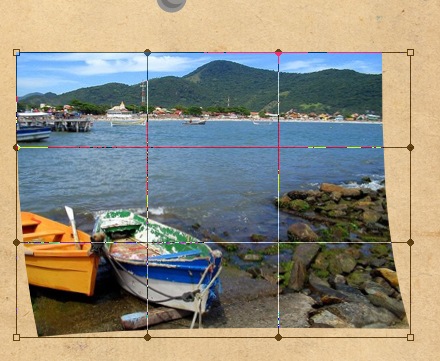
Open an image that you would like to be pinned to the book. Name this layer ‘photo’. Now to add some depth to this image, warp it so it looks like it is bending off the page. Edit > Transform > Warp. Pull the bottom corners out a bit
Step 7: Adding the Drop Shadow
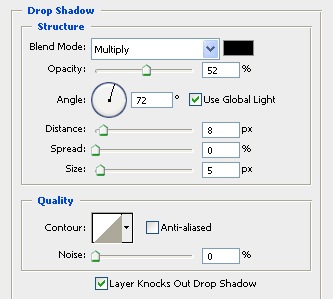
Go to the layer effects window and add a drop shadow to the ‘photo’ layer. Adjust it until you think it looks good, I used these settings.
Make sure this ‘photo’ layer is below the ‘thumbtack’ group. Now drag the thumbtack overtop, it should now look as if the thumbtack was holding the image on.
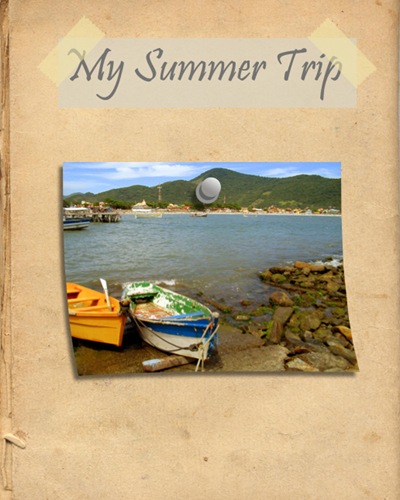
Final Result
With my final result I tweak the colors in the ‘photo’ layer to bring out more of the orange in the picture. Image > Adjustments > Color Balance. This effect may not apply to your image.

Post a Comment