

11:54:00 AM
As I saw everybody enjoyed previous Christmas related tutorial, I decided to keep it that way and now I am offering You the next Photoshop task. Tutorial creation took me about 4 hours, so You could do this in 30min or an hour. I wish You good luck and please provide us with Your outcomes! We will use many different and useful techniques here so read everything carefully and ask if You don’t understand something.
And now I wish You good luck - and keep Your Christmas spirit going!

Step 1: Document Creation And Sky
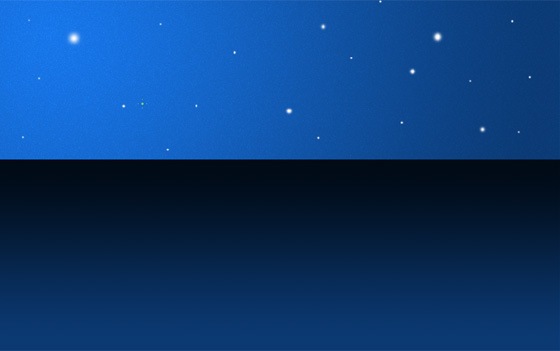
Create a new document, I wanted this image to use later as wallpaper, so I used 1920×1200 resolution, 72 dpi.
Fill background with radial gradient (press G to activate gradient menu) with colors #1773e3 and #0b3972:


Step 2: Star Creation
Although we will create night effect, we need again to create some stars.
Now create new layer ( CTRL+SHIFT+N), right above the background, fill it with black ( choose black and ALT+DELETE to fill).
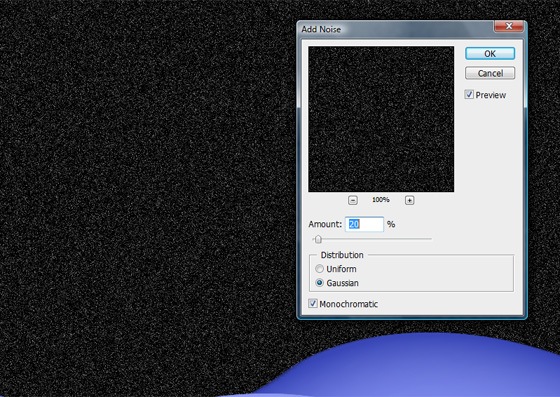
Go to Filter–>Add Noise and add settings like on picture below (amount 20-30):
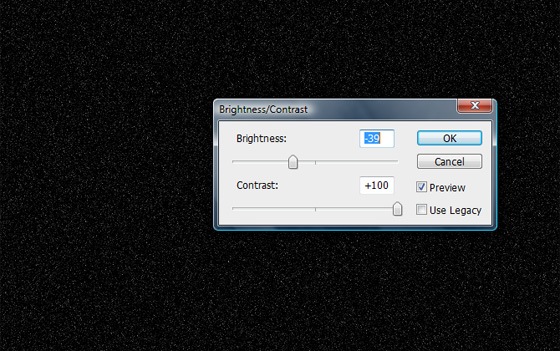
To get lesser amount of white noise, go to Image–>Adjustments–>Brightness/Contrast:
Change Blending style to Color Dodge:

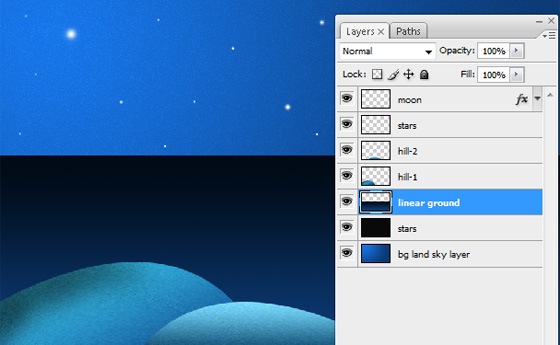
Step 3 : Ground creation
Press CTRL+SHIFT+N to create new layer ( look at screenshot at my layers palette so it’s the same like mine).
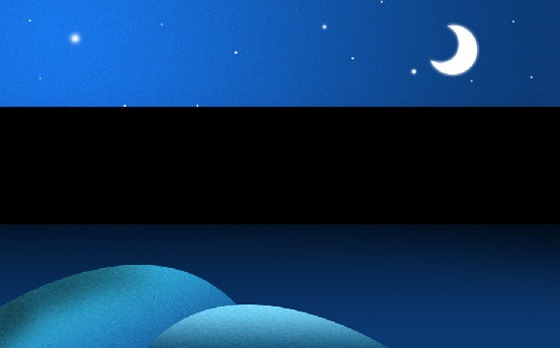
Then select rectangular marque tool (press M) and do selection like this:
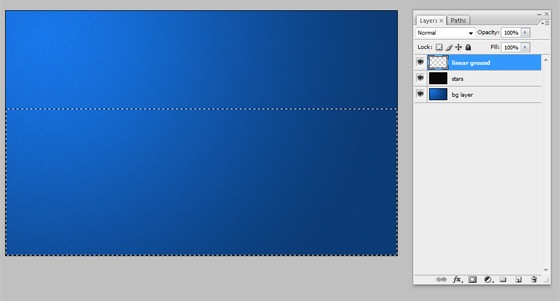
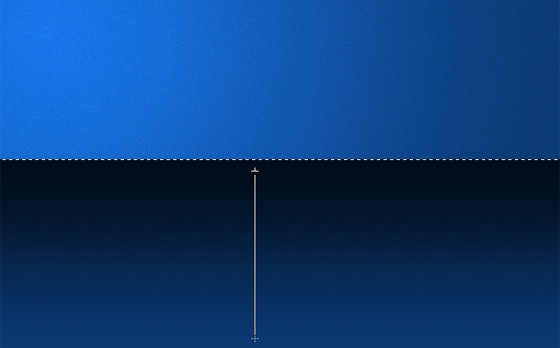
Let’s use linear gradient to create 3D look with colors #000b17 and #0b3972:
![]()
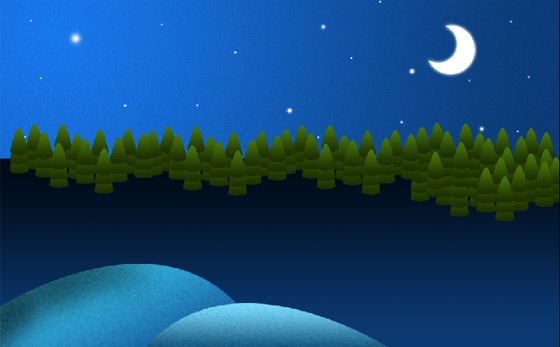
Ok, now we have background:
Step 4: Adding Detailed Star
Create a new layer and grab soft brush (B), change foreground color to white ( press D to reset colors and X to switch foreground/background).

Draw big stars in various sizes on the sky and use right/left brackets [ ], to change brush size :
Step 4: Adding Moon
What is Christmas night without moon? Let’s create one!
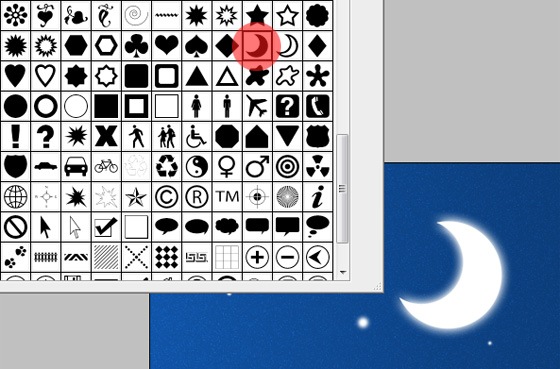
Create a new layer, select from custom shape tool - “Crescent moon”, if You don’t have shapes like me, do this bonus step:

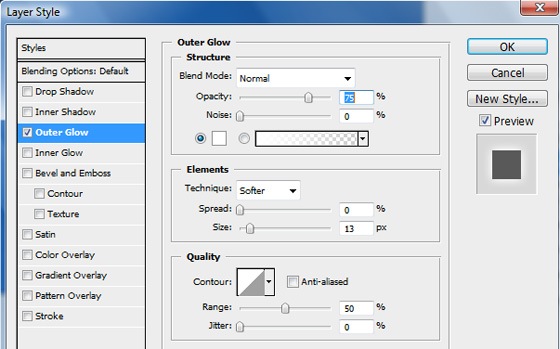
Add moon in sky, where You want, also add white outer glow to the moon.
Step 5: Hills And Downs
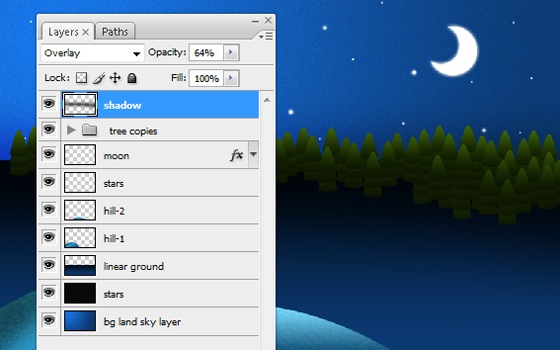
In the fifth step we will add some hills and downs, but I won’t repeat this step, techniques is the same as in my previous tutorial - Beautiful Christmas Vision Tutorial And Wallpaper, start from the step 2 there.
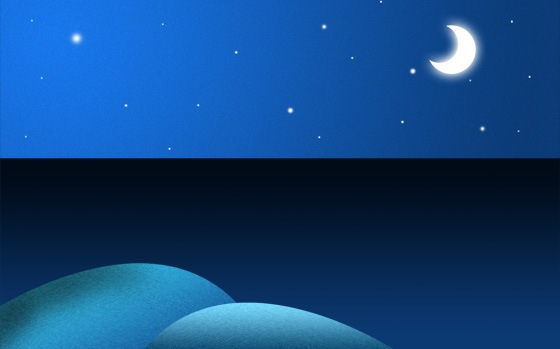
Also look at my layer order:
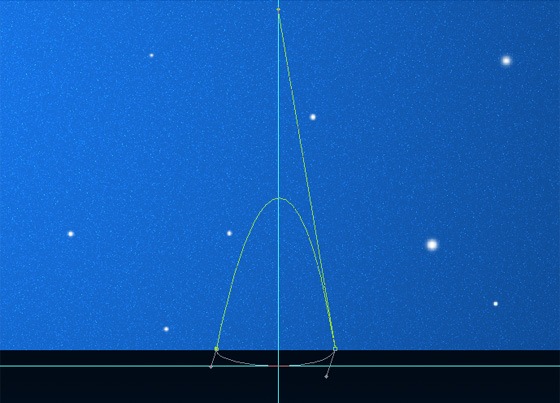
Step 6: Adding Trees
Now let’s create some trees to make look our scene more interesting.
Add some guidelines to create more precise results, create new layer, then grab pen tool and try to do something like this:
(You can get guidelines, by pressing CTRL+R to get rulers. Just click and pull from rulers to get them).
Now CTRL+Click on path, and fill it with any color pressing ALT+DELETE ( foreground color):
If You don’t see Your path palette - go Windows–>Path.

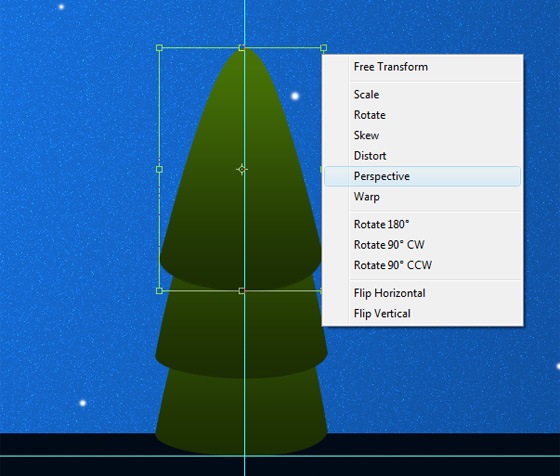
Now on the tree layer, add blending options–>gradient overlay with colors - #1b2d02 and #477407:

Duplicate layer 2 times (press CTRL+ Upper Arrow) and upper layer transform perspective a little bit:
Ok, now holding SHIFT select all three layers and group them pressing CTRL+G. You can also smudge trees to add texture, but I won’t do that this time.
With all three layers still selected, resize trees to much smaller size - CTRL+T and holding shift resize.
We will use these trees in background, so we need many trees. Just press on the group with CTRL+Upper Arrow to create more duplicates and position trees like in the picture below:
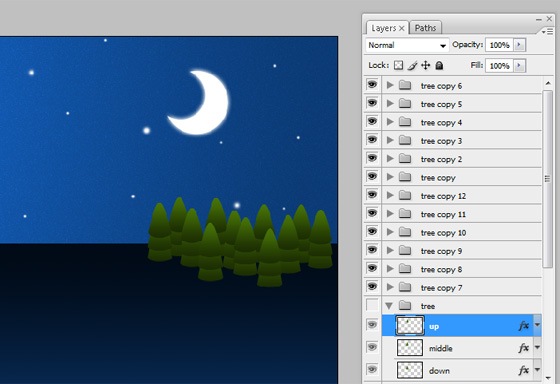
Add as much trees as You think is necessary.
Step 7: Horizontal Shadow
Let’s add shadow on trees - create a new layer, select rectangular tool with black color:
Go Filter–>Gaussian blur and blur it 100px radius. Change blending mode to overlay and reduce opacity to 64%.
Step 8: Adding Global Colors and Shadows
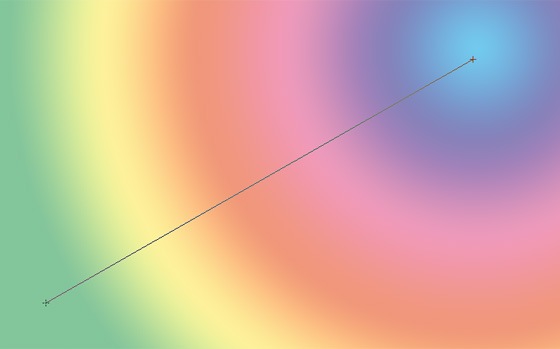
Create a new layer on the top of all layers and add some colorful radial gradient, change blending mode to overlay.
Adding Shadows:
Let’s add some more shadows - use Elliptical marque tool and feather 100px. Create a selection and then press CTRL+SHIFT+I to invert selection and fill it with black ( ALT+DELETE). Change blending mode opacity to 75%.
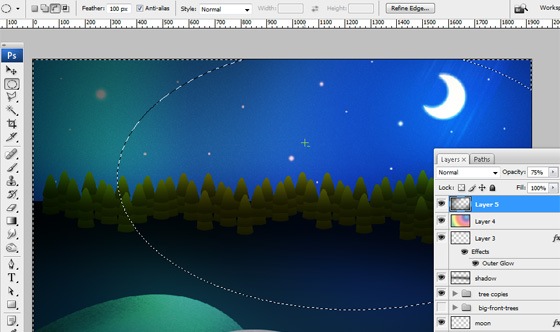
Okay, we are already finished, I added just a few more effects:
1. I added those swirly lines at the moon, with pen tool –> stroke path.. –> simulate pressure.
2. Also I added two trees on the front side in the same way as I added background trees, I just didn’t want to go through whole process again.
ReadMore...
11:46:00 AM
![]()
[2] Take the Elliptical Marquee Tool.
![]()
[3] Now set the Foreground Color see in the next image.
![]()
[4] Now create a circle then go to Select>Feather Selection use these values.
![]()
[5] Now fill the selection with help of Alt+Backspace.
![]()
[6] Then set the Opacity of this layer.
![]()
[7] Your image should be look like this.
![]()
[8] Now create another Circle with the help of Elliptical Marquee Tool, then fill the selection with Red color.
![]()
[9] Now set the Foreground Color see in the next image.
![]()
[10] Now create another Circle with the help of Elliptical Marquee Tool and fill the color.
![]()
[11] Then go to Blending Option use the following settings.
![]()
![]()
[12] Your image should be look like this.
![]()
[13] Now hold Cntl+Click the Previous Layer, then take the Rectangular Marquee Tool use the following settings.
![]()
[14] Create a new shape over the circle shape see in the next image.
![]()
[15] Your image should be look like this.
![]()
[16] Then fill the selection with White color.
![]()
[17] Now set the Opacity see in the next image.
![]()
[18] Your image should be look like this.
![]()
[19] Now create a new shape with the help of Pen Tool.
![]()
[20] And then take the Gradient Tool use these settings.
![]()
[21] Fill the selection with the help of Gradient Tool.
![]()
[22] Now create a new shape with the help of Pen Tool.
![]()
[23] Create a new layer make the selection and fill with White color.
[24] Your final image is ready.
![]()
ReadMore...
