

12:18:00 AM
Step 1
Now select the Rectangle Tool in the Tools Tab and draw a rectangle like here:
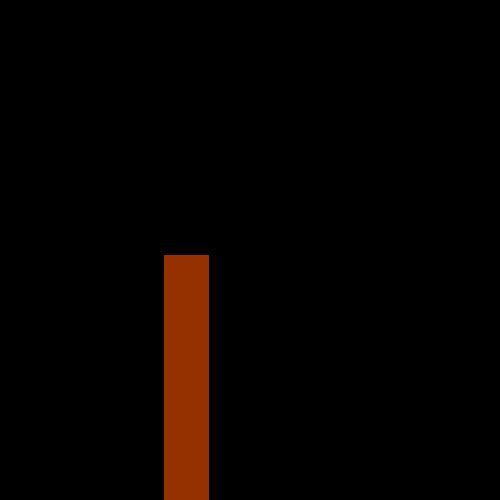
Step 2
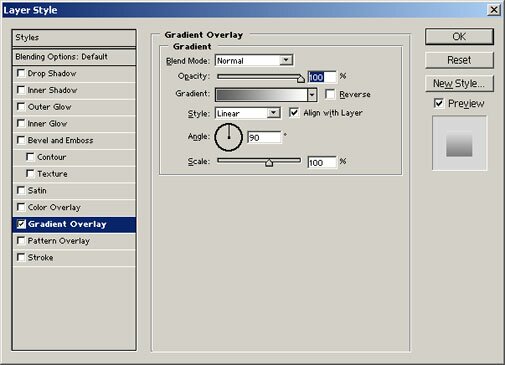
Add some kind of 3D effect to the rectangle. To do this thing, add a gradient overlay effect on the rectangle: select Layer > Layer Style > Gradient Overlay and use the next settings when apply this effect:
Step 3
Draw an ellipse on the top of the rectangle like here:
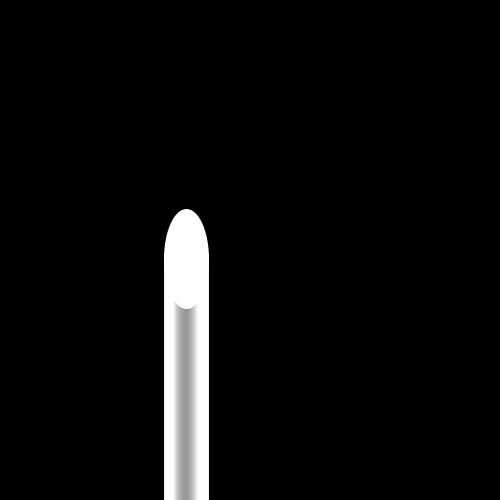
Step 4
Duplicate the layer which contains the ellipse. Right click on the layer with the ellipse in the Layers Tab and choose Duplicate Layer. Now we have two layers and the each one contains an ellipse. Select the ellipse on the duplicate layer and resize it like in the next picture. To resize the ellipse select Edit > Transform > Scale (hold down the SHIFT key when resize the ellipse):
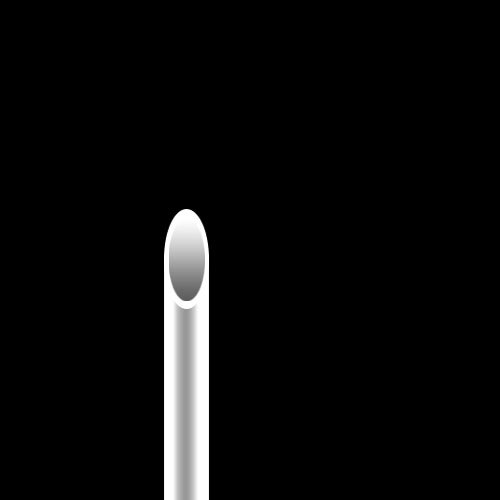
Step 5
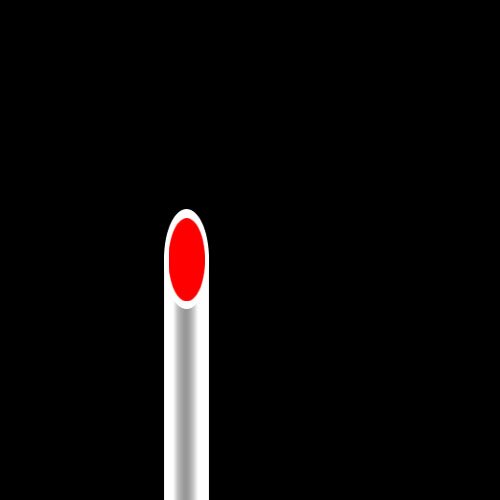
Now add a gradient effect on this layer (to add more perspective on you tube and create the tube’s interior). To add the gradient effect check step 2 from this tutorial. Use the next settings for this gradient effect:
And your result should be something like here:
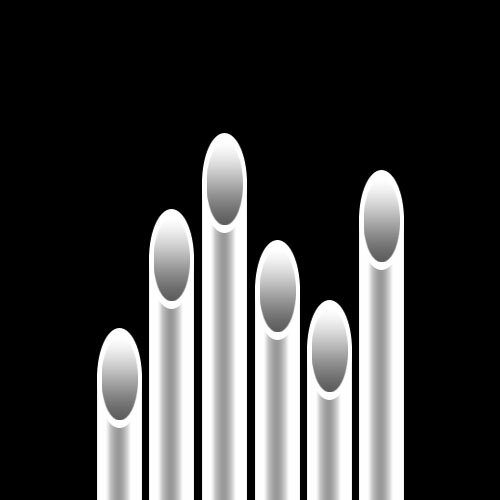
Step 6
Create a few more tubes using what you’ve learned in this tutorial. Something like this:
Step 7
Add lighting effect to the background and other elements that you’d like. This is what I’ve got:


Post a Comment