

8:41:00 PM
Introduction
1. Create a background to magnify
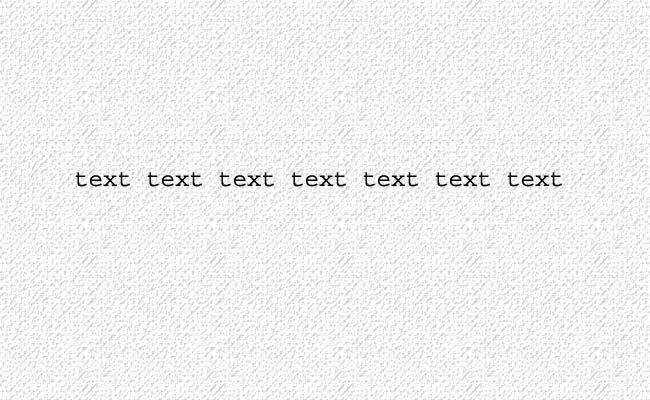
In order to see the magnification effect, you need a non-uniform color background. You can use text for this, or pretty any other image, but I used a pattern filled layer with it’s opacity set to 19%.

2. Making some preparations
First, pickup the “Rounded Rectangle Tool” and create a shape with it, that looks like a toolbar. Transform this path into a selection, cut the pattern tool with this selection (”Ctrl + X”), then create a new layer and paste it (”Ctrl + V”) in the new layer. This must look like the initial image, the pasted pattern must integrate into the background like it was never taken out from there. Then create a new text layer and write your toolbar options (a series of “text” word in my example).
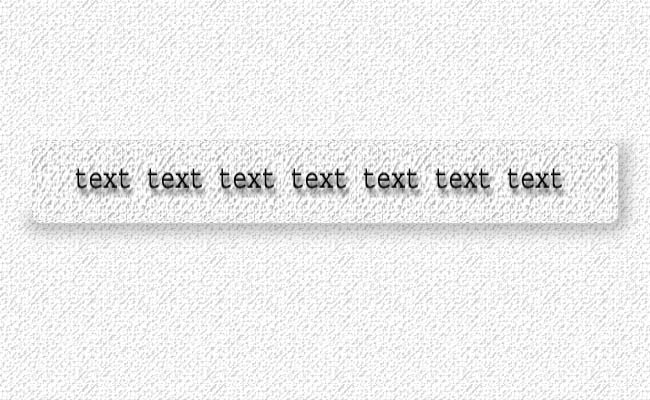
3. Glass distortion
Now choose a “Filter -> Distort -> Spherize” filter, where you must choose a “Vertical only” distort, with an amount of 100%. Then apply this filter to both the toolbar layer and the text layer, while keeping active the selection created from path on step 2.
4. Final effects
Now, for creating the cool looking glass toolbar, you must apply the following “Blending Options”:
- Toolbar layer - “Bevel and Emboss” (Style: Outer Bevel, Depth: 1000%, Size: 10px, Soften: 16px)
- Text layer - “Drop Shadow” (Distance: 7px)

Post a Comment