

8:44:00 PM
Introduction
Let’s say you have to build a web page or a desktop application with a scrap, rusty metal look. Your buttons must look like real rusty metal sheets. This tutorial will teach you how to create a simple “metal” button. This tutorial assumes that you master the basics of “Filters” and layer’s “Blending Options”.
1. Create a shape

2. Setting blending options
The next step is to set up proper blending options for the last created layer. I use the following settings: “Drop Shadow” (default settings), “Bevel and Emboss” (Style: Inner Bevel, Technique: Chisel Soft, Depth: 61%, Size: 16px, Antialised), “Pattern Overlay” (Blend Mode: Normal, Opacity: 17%, Pattern: Frozen Glass, Scale: 180%).

3. Rust effect
In order to create a rust effect, we must create some random noise. We create a new layer and place it over the top of the layer stack. We reset our foreground and background colors to black and white, and use the “Clouds” Filters to create clouds in the new layer, but only over the button area (we can apply this restriction by “Ctrl+click” the button shape layer).

4. Delete the unneeded noise
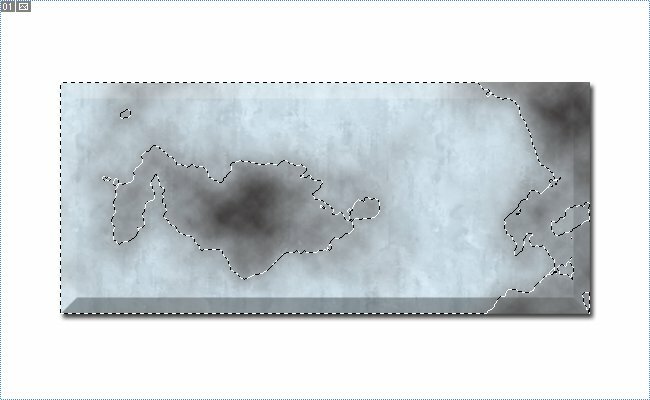
We keep the selection from previous step (the button selected) and we make a “Color Range” selection in the last created layer. We pick to select the lightest areas in the clouds and set up a pretty high “Fuzziness” only the darker areas remain unselected. This selection should intersect with the previous rectangular selection and then we tap the “Delete” key and delete our selection. The result should look like this:
5. Finish up the rust effect
By keeping the selection from the previous step, we apply a “Film Grain” filter to what remained from the cloud we created before. Then we enter the “Blending Options…” dialog and setup a red “Color Overlay” with it’s “Opacity” set to 12%.

6. Adding text
This is only one effect for adding text to our metal surface, to look like some characters created from a darker metal or plastic and applied on the surface. However, there are a lot of techniques, such engraved text and more. So just select the “Text” tool and write a text in the center of the button. Then open up “Blending Options…” for the text layer and setup a “Drop Shadow” effect with a “Distance” parameter of 1px and a “Bevel and Emboss” effect with default settings. And here goes the final result:


Post a Comment