

9:20:00 PM
Introduction
1. Loading a new environment
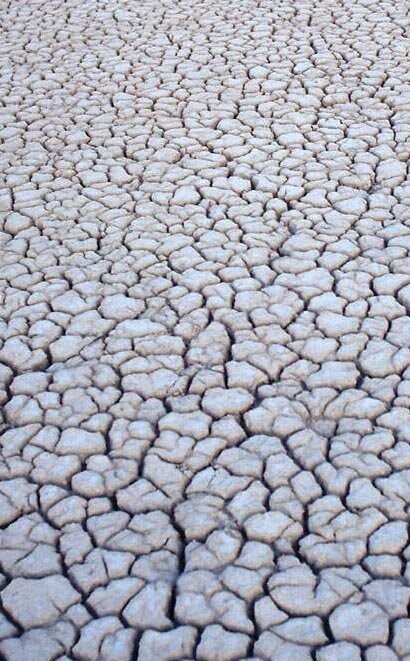
On the fist step we load the new environment into PhotoShop. In this tutorial I use a very neutral environment, without a lot of shadows and pretty flat.
2. Select the object
The next step is to select the object from it’s original environment using the magnetic lasso tool and copy it to clipboard.
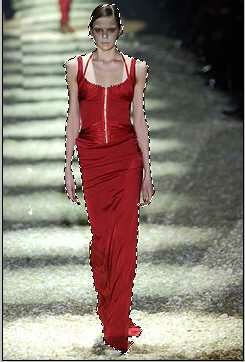
3. Paste the object into it’s new environment
Paste the object into it’s new environment, making a new layer for it.

4. Making a layer for the shadow
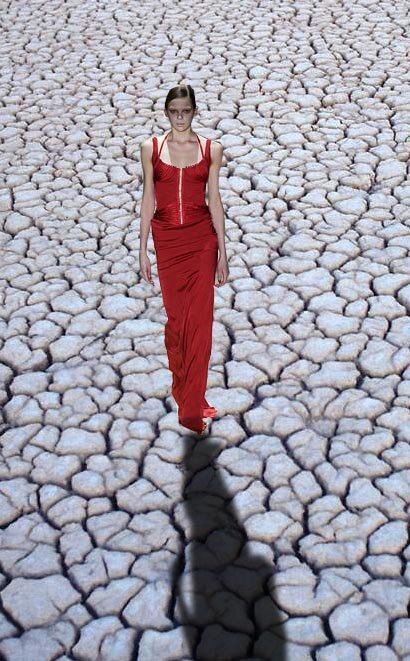
We duplicate the girls layer, and drag the duplicate under the original one. Then “Ctrl+click” on the new layer in order to select it and fill it with a black color.
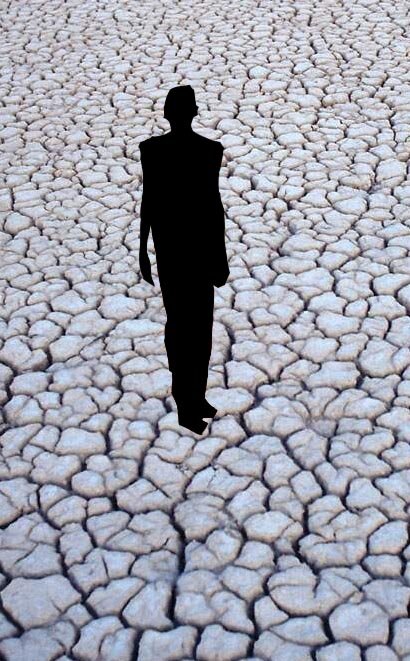
5. Edit the shadow
Using the “Free Transform” tool and the “Distort” tool, we mirror the shadow so it looks flated on the ground plane. In my example I put it in front of the girl,because in the original image there was some light coming from the back, and you can see the self-shadow of the girl’s head over it’s body, so I want to use it as the main light. Then, using “Distort”, I align the shadow to the shadow on the girl’s body, to make it look realistic and skew it a little, so the light looks small and pretty close in the back.
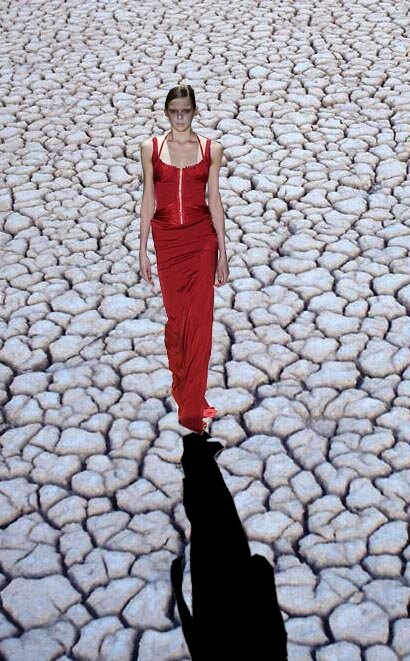
6. Make the shadow more realistic
For making the shadow more realistic (it really depends of your environment), I switch the shadow layer’s blending mode to “Hard Light” and changed it’s opacity, like in the picture below. I’ve also applied a “Gaussian Blur” filter to the shadow layer, to make it look more soft.
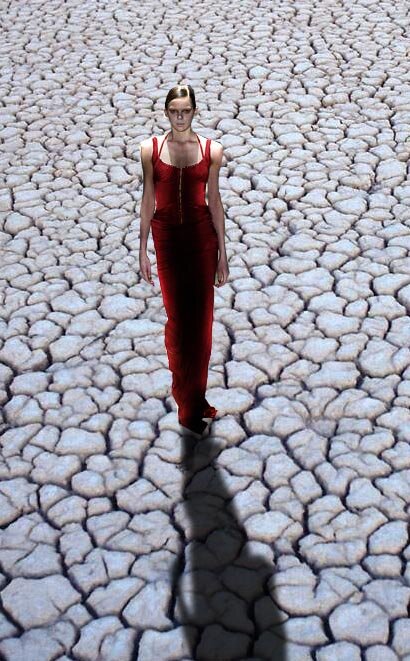
7. Make a little self-shadowing for look more realistic
In this last step I’m using the “Dodge” and “Burn” tools to make some self-shadowing on the girl, but this is pretty rough as it was not our primary objective. Check the final result below:

Post a Comment