

9:18:00 PM
Step 1
Open new 300x300 pixels document in Adobe Photoshop. Now with your Polygonal Lasso Tool draw the shape of a closed folder. Just like this.
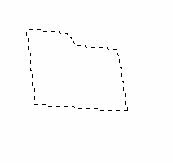
Fill it with #ecd283 color.This part of the folder has to be lighter.

Step 2
Make a new layer Layer->New Layer and with your polygonal Lasso Tool draw the other side of the folder. This way the result will be an open folder. Fill it with the color #cba121.

Step 3
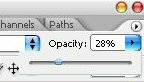
Make a new layer. With your Elliptical Marquee Tool draw a circle in the upper part of the folder and fill it with white. Then set the opacity of the layer at 29%.

Step 4

Open this image in Photoshop and drag it next to the folder.

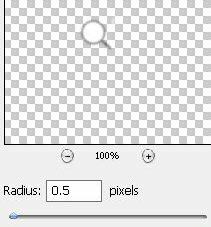
Make sure the last layer is selected and go to Filter->Blur->Gaussian Blur and set the Radius at 0.5 pixels.
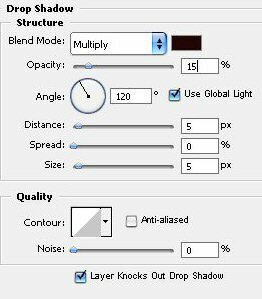
Now go to Layer->Layer Style->Drop Shadow. Set everything like in the image.
The icon is ready. It should look like this.


Post a Comment