

12:31:00 AM
Step 1

Step 2
We’ll try to make a “water drop” on that picture. Select the Elliptical Marquee Tool (M). You can find it in the Tools Tab:

Select an area like here (using the ellipse tool); hold down the SHIFT key to draw a perfect rounded selection:

Step 3
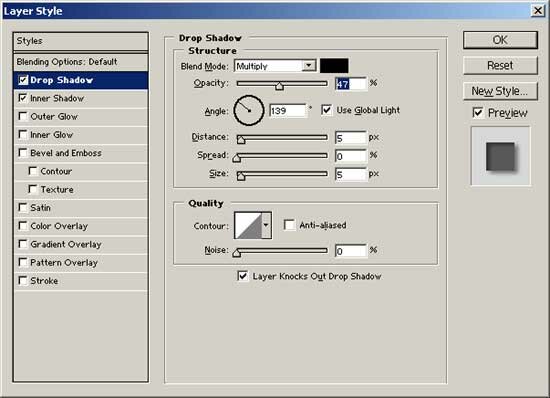
Use CTRL+C to copy the selection and CTRL+V to past it into a new layer. Apply the “Drop Shadow Effect” to the new layer. To do this make the next step: select Layer > Layer Style > Drop Shadow. Use the next settings when applying the effect:
Step 4
Select Layer > Layer Style > Inner Shadow to add the “Inner Shadow” effect to the new layer. Use the next settings for this effect:

And here’s the intermediary result after these steps:

Step 5
Draw an ellipse with a white background color. “Rasterize” the new layer by right clicking on the new layer in the Layers Tab and selecting Rasterize Layer:

Step 6
Use the Elliptical Marquee Tool (in the Tools Tab) to make a selection like here (hold down the SHIFT key when you make this selection to draw a perfect circle):

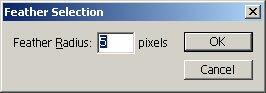
Select Select > Feather with the “feather radius” 5:
Choose the Select > Inverse and press down the DELETE key to delete an area of the new layer. Make this for 3 times. Make sure you are on the layer with the ellipse whish draw it last time. Set the layer opacity to 33% and your result should be like this:

Step 7
Draw another “water drop” using the above steps and then another one. Resize the new “water drop” and that’s the result:

Ok. Now you can play with your creation and using Photoshop you can get a nice result:


Post a Comment