

12:34:00 AM
Step 1
Open a new document in Adobe Photoshop with the size 500x500 pixels and a white background.
Create an ellipse using the ellipse tool. You can find it in the Tools Tab, Ellipse Tool (U):

Draw an ellipse like here:

Step 2
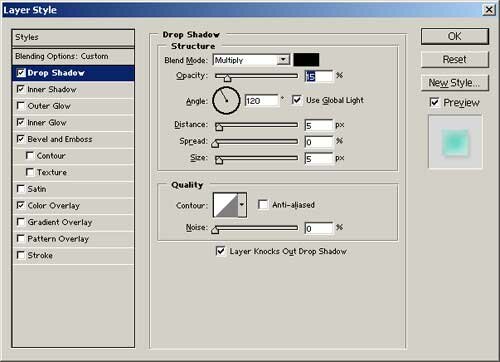
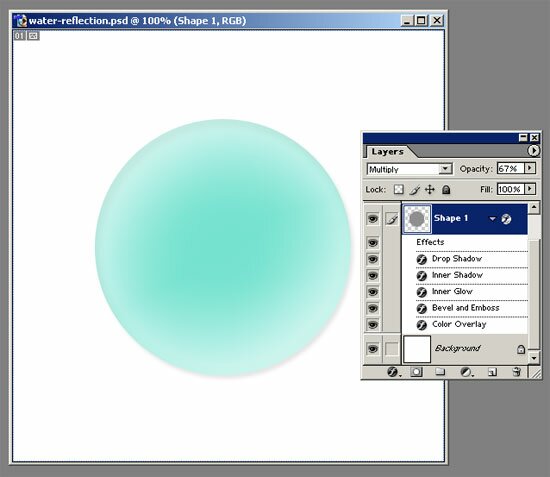
Now we’re going to apply a few effects on this ellipse. First we’re going to apply the “Drop Shadow Effect”. To do this step select Layer > Layer Style > Drop Shadow or click on the icon Add Layer Style in the Layers Tab bottom. Use the next settings for this effect:
Step 3
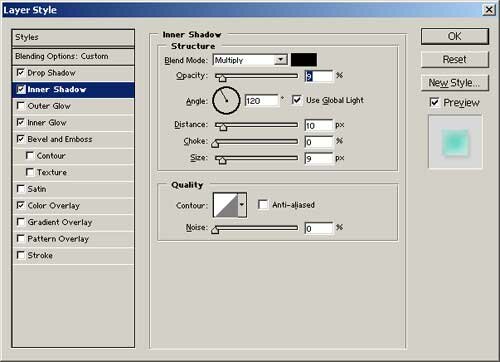
Apply the Layer > Layer Style > Inner Shadow effect using for this the next settings:
Step 4
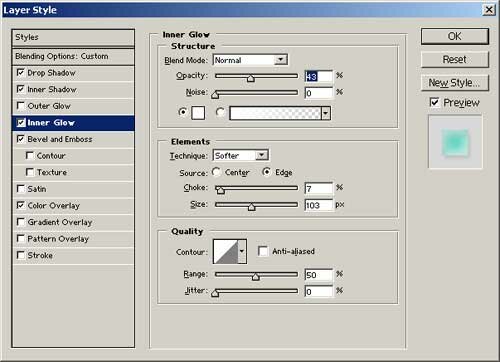
Now select Layer > Layer Style > Inner Glow with the settings:
Step 5
Apply Layer > Layer Style > Bevel & Emboss. Use the next settings when applying the effect:

Step 6
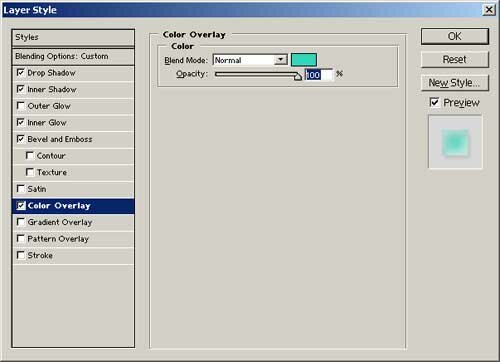
The final effect is “Color Overlay”. Select Layer > Layer Style > Color Overlay. Use the settings:
This is our intermediary result after these steps:
Step 7
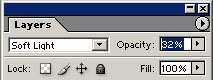
Draw a new ellipse, in a new layer, on the top of the first one and set opacity to 32%. To set the opacity check the Layers Tab:
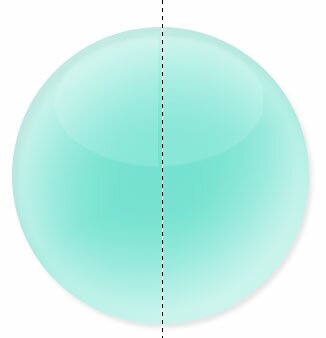
And this should be your result:

Step 8
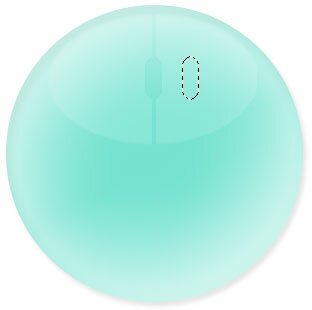
Ok. Now we’re going to make the mouse buttons. To do this select the last ellipse which you drew. Use the Single Column Marquee Tool (you can find it in the Tools Tab) to delete the four lines in the ellipse center like here:
Step 9
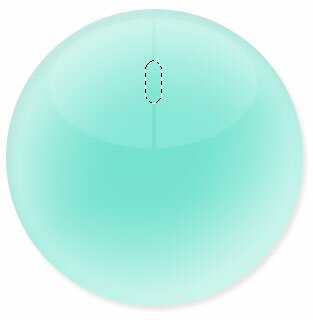
We’re making the scrolling mouse button. Take the Rectangular Marquee Tool (in the Tools Tab), set the “smooth border” to 7 px. To do this select Select > Modify > Smooth and set the “Samples Radius” to 7 pixels. Delete the selected are and the result:
Step 9
Move the selection in this position (the Rectangular Marquee Tool should be selected):
Use CTRL+C and CTRL+V to copy the selection to a new layer. Move and resize the new layer; with the Single Row Marquee Tool delete an area like here and set the opacity to 50%:

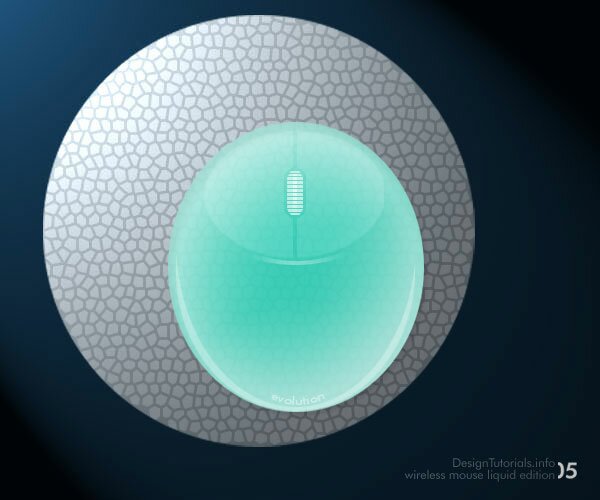
Step 10
Now select all layers (but not the layer “background”) and use Edit > Transform > Scale to make the mouse oval. Using the backgrounds elements or more mouse details you can obtain a result like me, or even better:

Post a Comment